This guide shows you how to enable Remote Desktop connections on your Windows Server infrastructure.
Before proceeding with the RDS setup, please make sure that you have installed, activated and updated your Windows Server!
Step-by-step guide
I. Enable Remote Desktop Services
Follow the 7 steps in the slideshow below (click the orange arrows to navigate):


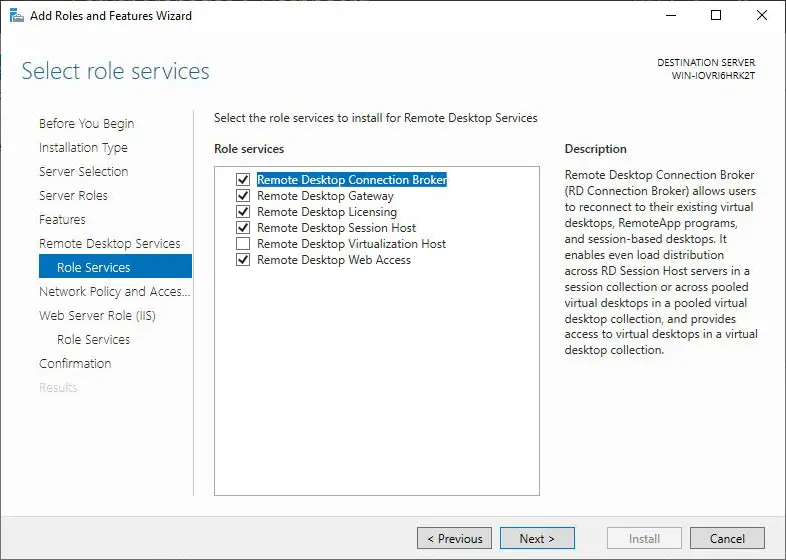
In the Select role services screen, select: Remote Desktop Connection Broker; Remote Desktop Gateway; Remote Desktop Licensing; Remote Desktop Session Host; Remote Desktop Web Access. Afterwards click Next.

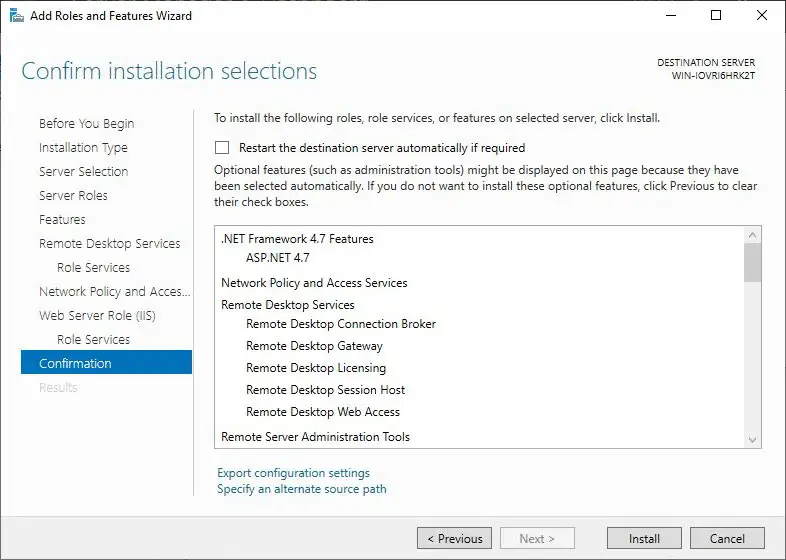
Once you have all the settings set, the Confirm installation selections page will appear. Click Install to begin the installation process.
When your License Server is activated, it is assigned a unique License Server ID. This ID is required to generate a product key for your RDS CAL.
II. Activate Remote Desktop License Server
Follow the 4 steps in the slideshow below (click the orange arrows to navigate):

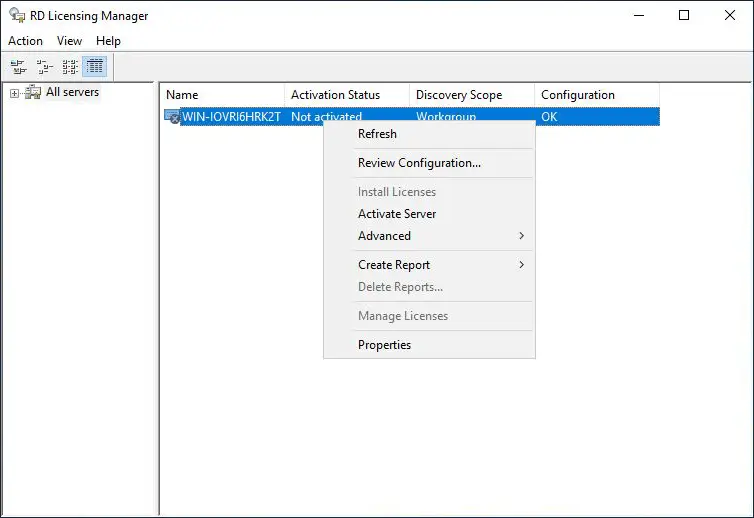
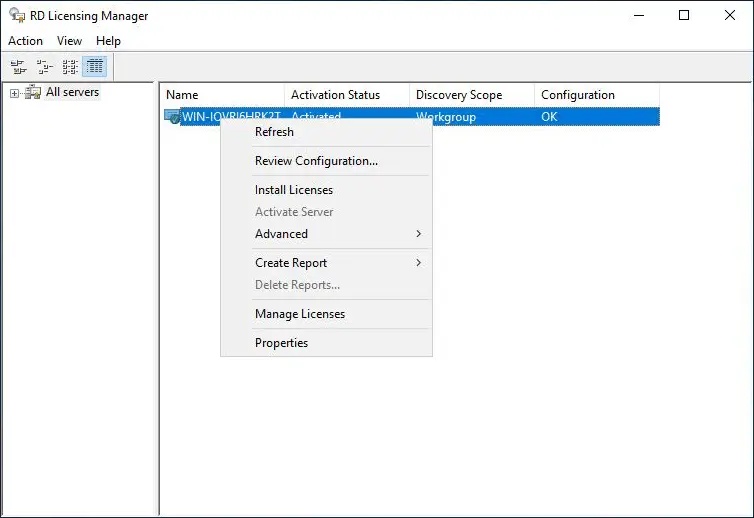
Right-click on the license server that you want to activate, and select Activate Server. The Activate Server Wizard will start.


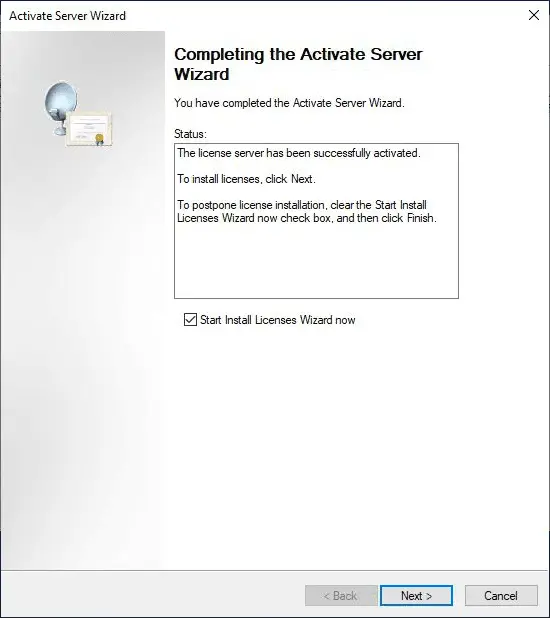
The installation wizard will now contact Microsoft servers and activate your server. Once it’s confirmed, you will see the Completing the Activate Server Wizard page.

Once the installation is successful, you continue with the Remote Desktop License Server activation.
Follow the 4 steps in the slideshow below (click the orange arrows to navigate):


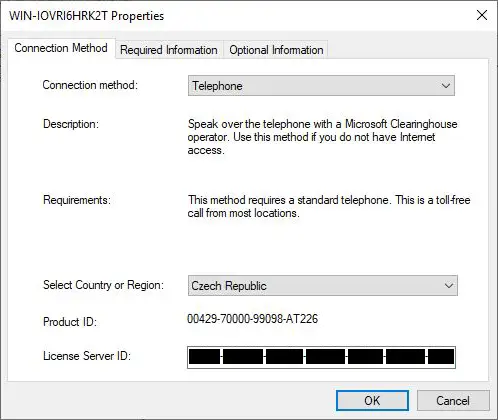
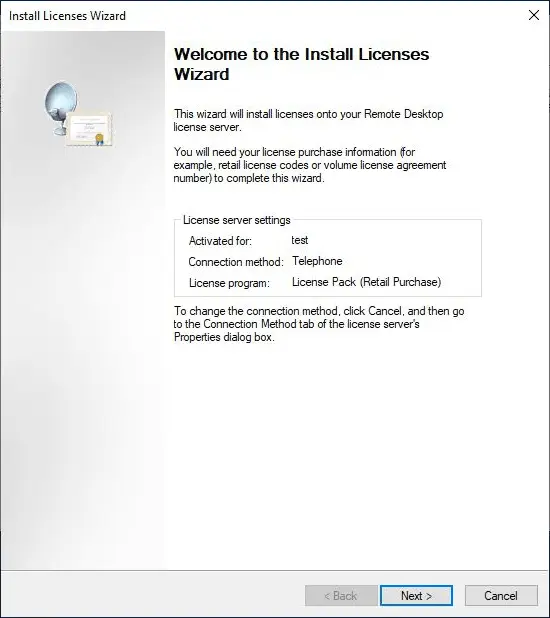
IMPORTANT: In order to receive an RDS CAL product key for the next step, you need to contact your RDS CAL supplier and provide your License Server ID to them.


Once the RDS CAL installation is complete, you can start using Remote Desktop Services.