This guide is intended for volume Office products, such as Office LTSC Standard 2024 and Office LTSC Professional Plus 2024.
Before installing your software, please make sure that:
- your computer meets the Office 2024 system requirements: Windows 10 or higher; Windows Server 2022 or higher; hard disk space: 4 GB; RAM: 4 GB;
- your current operating system is up to date with the latest Windows Updates;
- the following Offices are not installed on your computer (if they are, uninstall them): Office Home and Student, Office Home and Business, Office Professional, Microsoft 365 desktop apps, My Office.
Step-by-step guide
- Download Office Deployment Tool (ODT):
Once ODT downloads, it should be titled something like:
officedeploymenttool_18925-20138.exe
The numbers at the end might be different – this is normal, as Microsoft updates this executable regularly, and the numbers reflect versioning.
- Open the executable file. You will be prompted to allow this application to make changes to your computer. Select Yes.
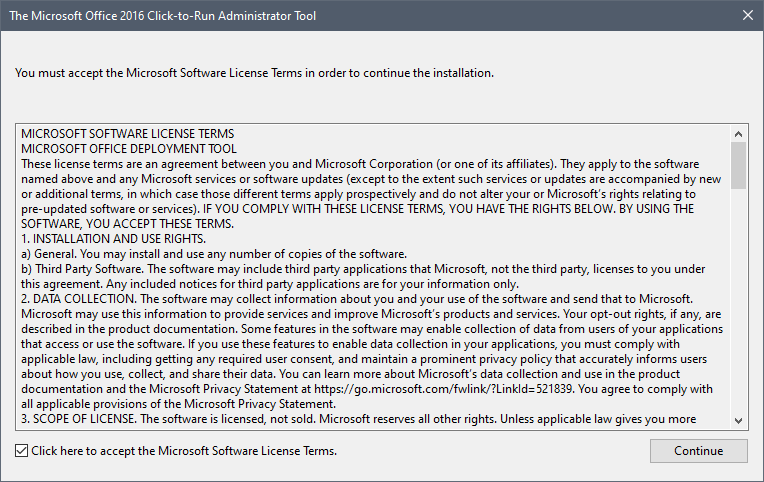
- A pop-up message with the Microsoft License Terms will appear on your screen. Check the box at the bottom left and click Continue.
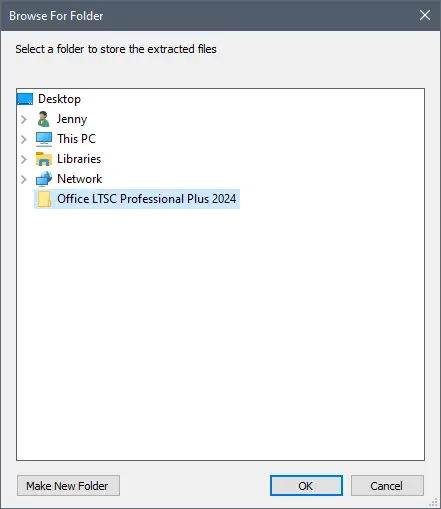
- Next, a pop-up will appear asking you to select a destination folder for the downloaded files – you can make a new folder to find them more easily afterwards.
- After you select the destination folder, a message will appear informing you that the file was extracted successfully. Press OK to close it and continue with configuration.
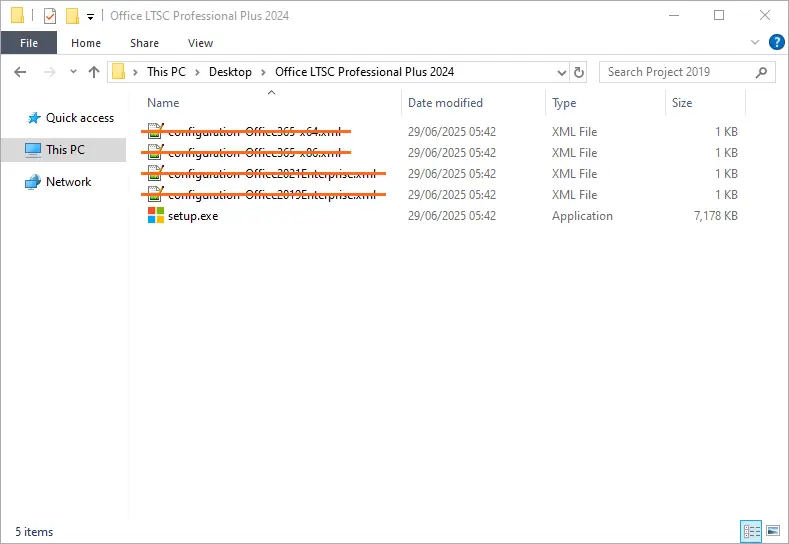
- Locate the folder you selected in the previous step. Open it, and you will see several files. Delete all files ending in .xml from this folder, as we will create our own configuration file.
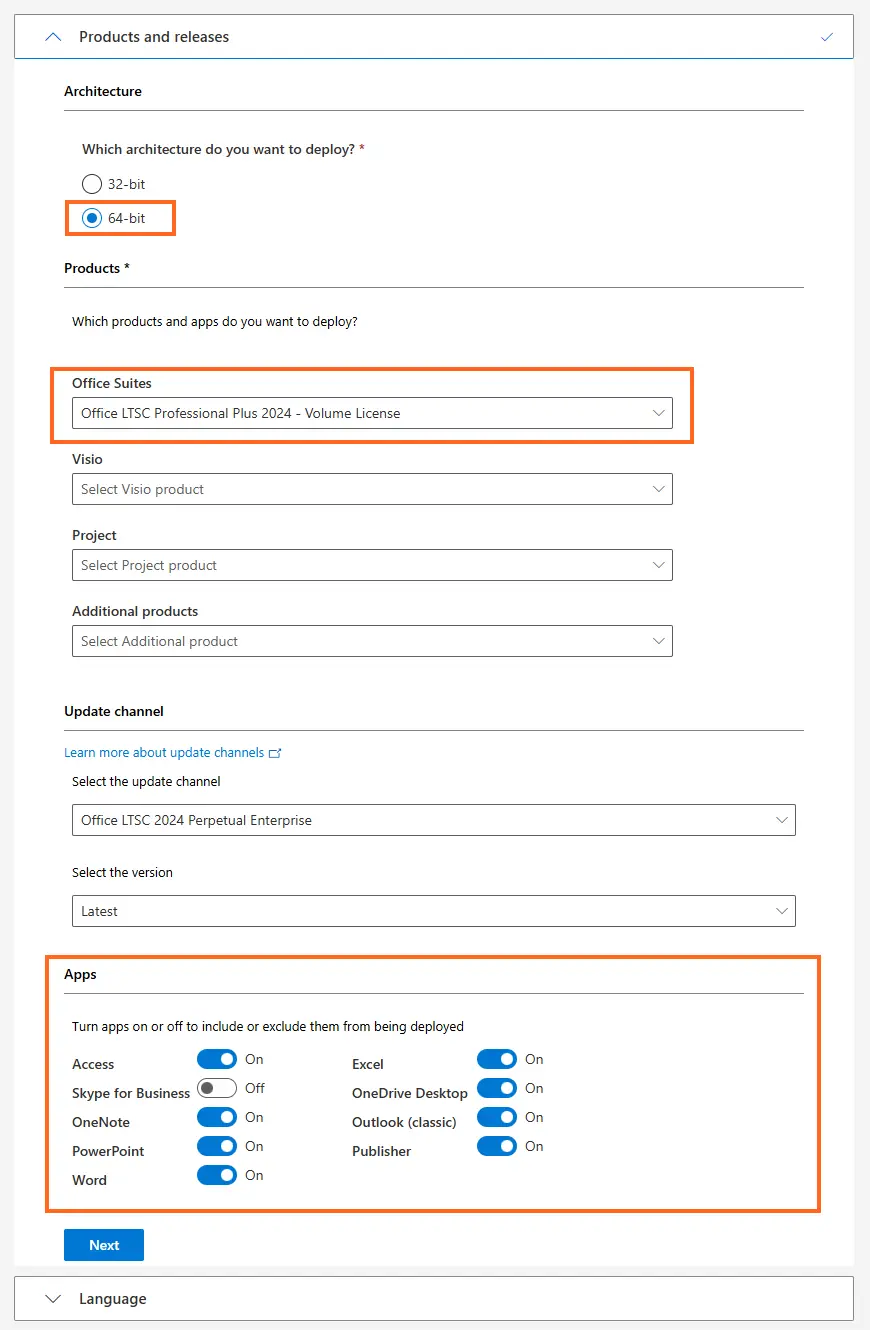
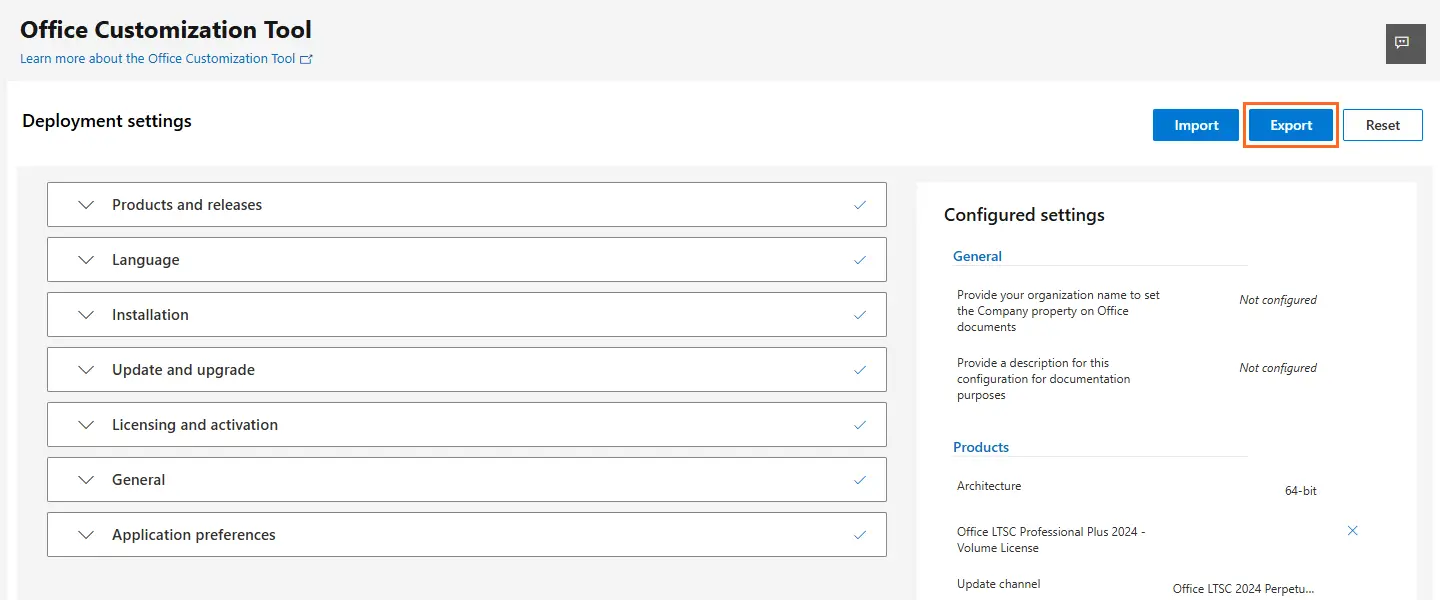
- Go to config.office.com/deploymentsettings. In section Products and releases, choose the software architecture (64-bit is recommended), then select the Office Suite that you want to install from the drop-down menu (e.g. Office LTSC Professional Plus 2024). You can also customize which specific apps you want from subsection Apps.
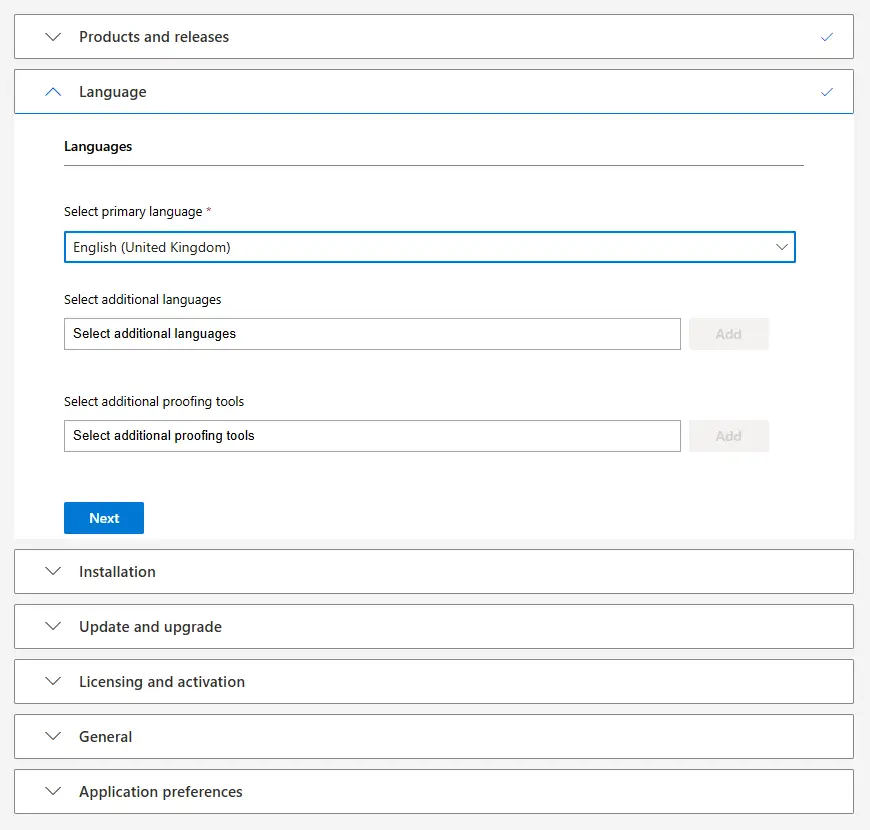
- Next, in section Language select the main language for the software. You can also select additional languages now, or download them later after the installation.
- At this point you have completed the obligatory steps – there are a lot more options for customization available but you can skip them, as they can be adjusted after installation, if needed. Click Export in the upper right corner of the screen to continue.
Note: for bigger deployments the configuration file can be pre-set with a specific MAK in step Licensing and activation. Always make sure that the number of MAK activations does not exceed the number of purchased licenses.
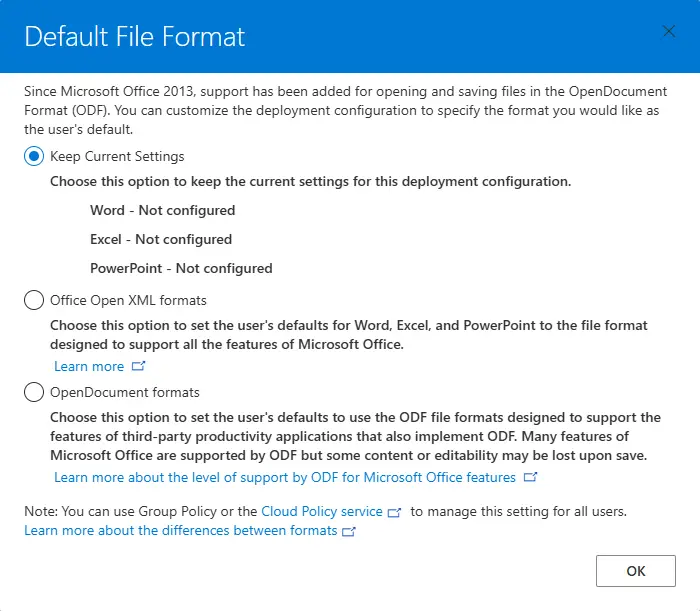
- A new window will pop up in which you can select the default file format for Office applications. If you’re not sure what to choose, pick Keep Current Settings.
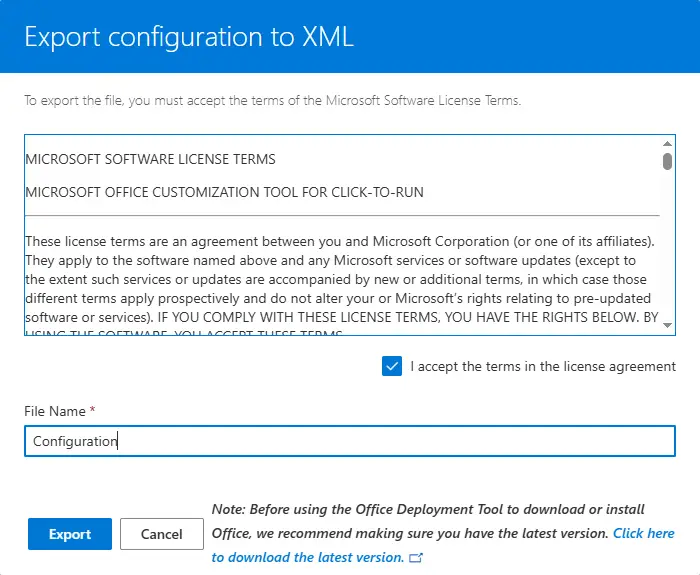
- The next pop-up requires you to accept the terms of the license agreement. You can also rename the configuration file to match the product name. Once you click Export, the configuration xml file will download.
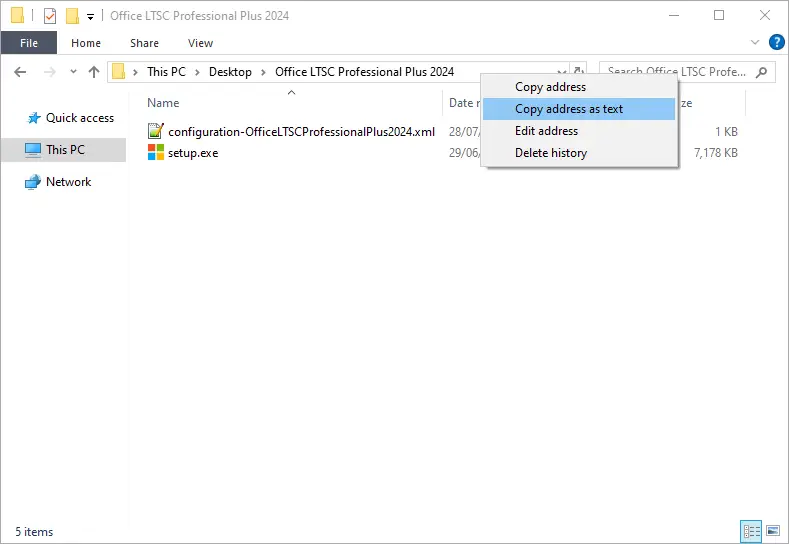
- Move the configuration xml file in the same folder with the setup.exe file (if it wasn’t downloaded directly there), then-right click the folder name in the Windows Explorer address bar and select Copy address as text.
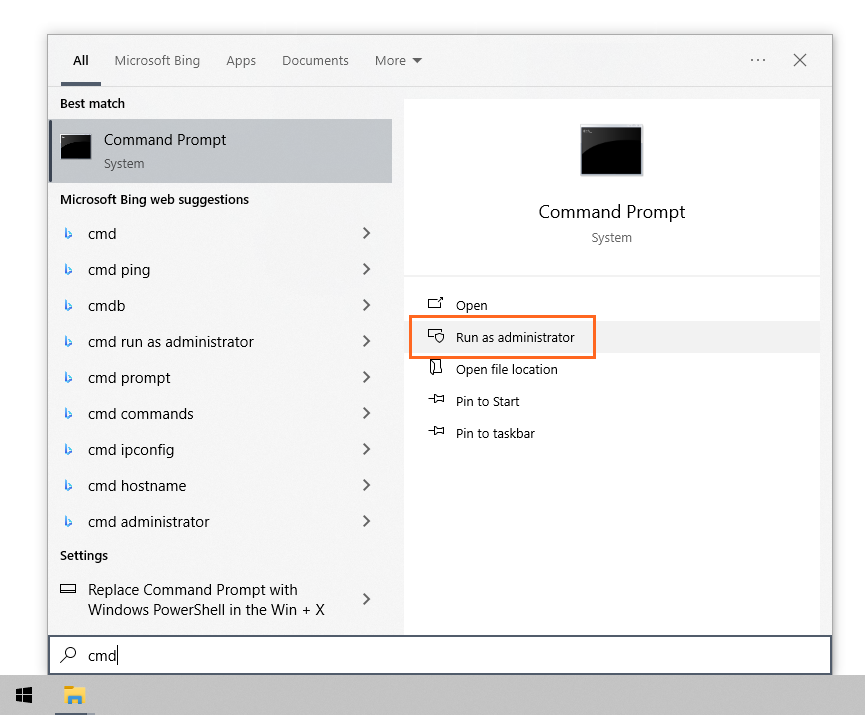
- Click the Windows Start menu, type “cmd” and once Command Prompt shows up in the results, click “Run as administrator”.
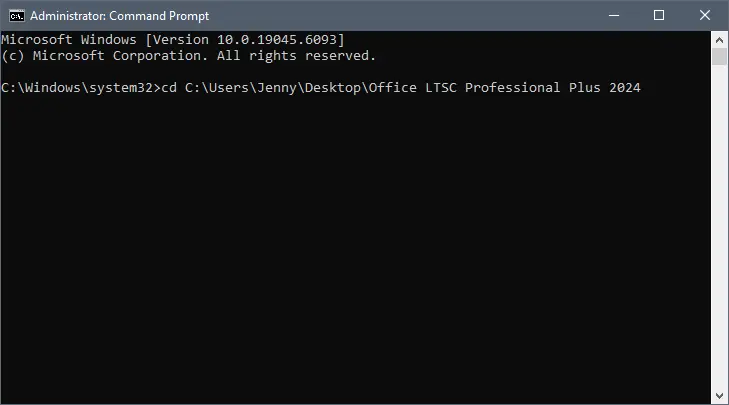
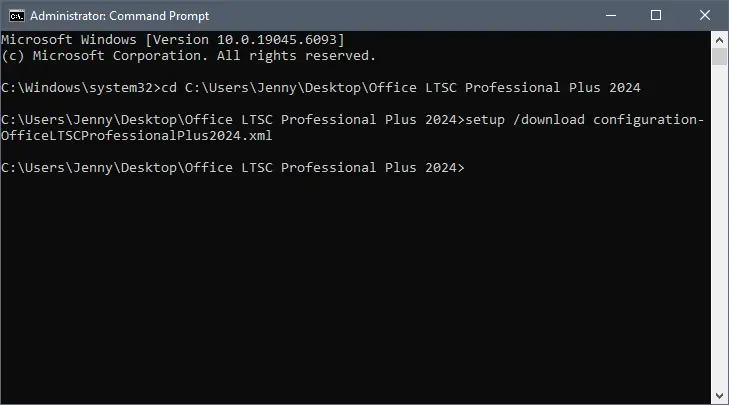
- Change the directory from System32 to the folder where the configuration file is located – to do so, type:
cd [address of the folder containing the configuration file]
The square brackets text needs to be replaced by the folder address you copied earlier (in step 1). Press Enter and the result should be something like this:
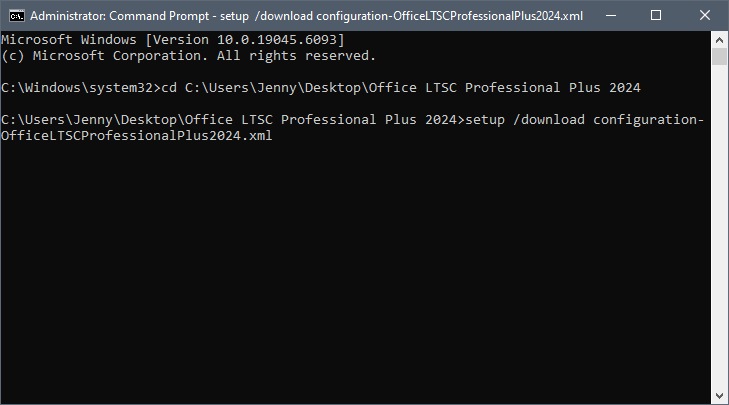
- Next, type:
setup /download [configuration_file_name].xml
The square brackets text needs to be replaced by the name of you chose for your xml file. Press Enter and the result should be something like this:
The download has now started. This process may take a while, depending on your internet connection.
Do not close the Command Promp window or it will interrupt the download!
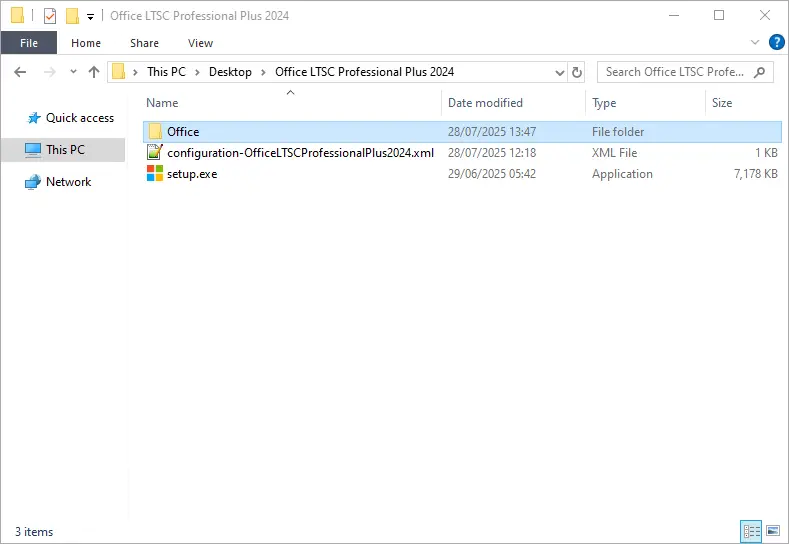
The download is complete when a new command row with the folder directory appears, as shown below:
Additionally, a new folder named “Office” has appeared in the folder with the xml file and the setup.exe file.
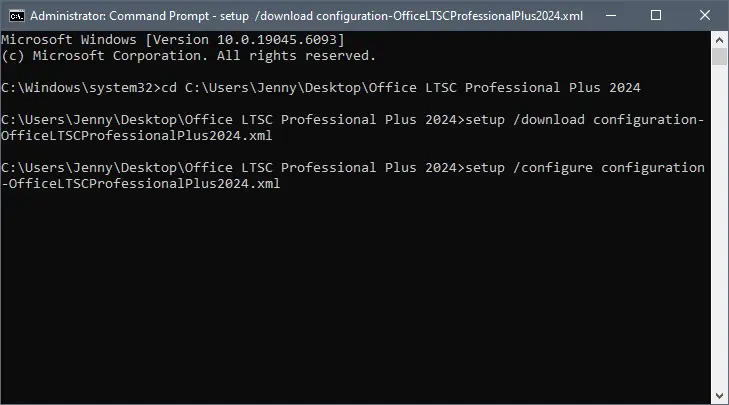
- In Command Prompt, which should still be open from the previous step, type:
setup /configure [configuration_file_name].xml
The square brackets text needs to be replaced again by the name of you chose for your xml file. Press Enter and the result should be something like this:
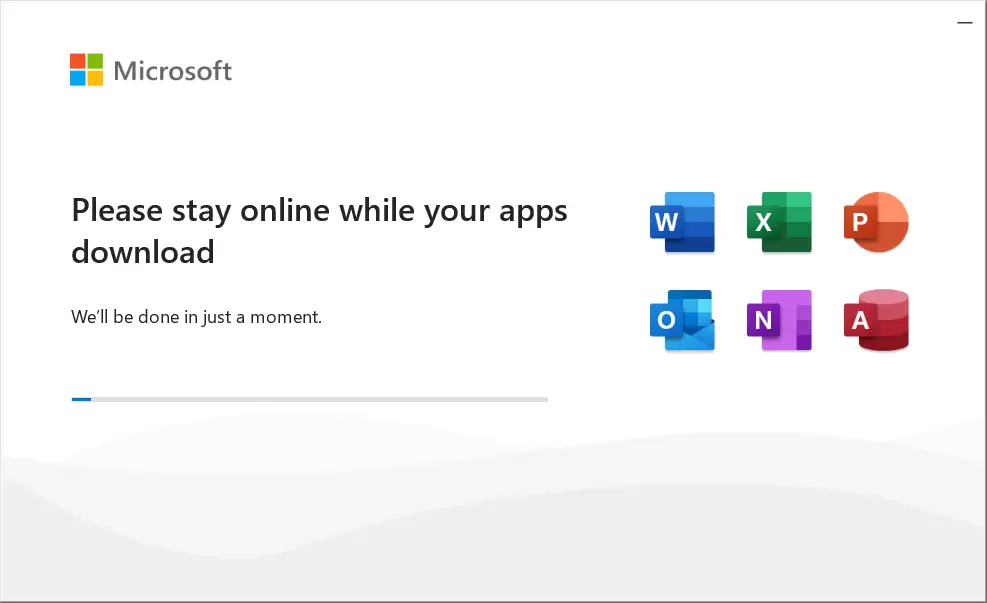
The installation will start almost immediately:
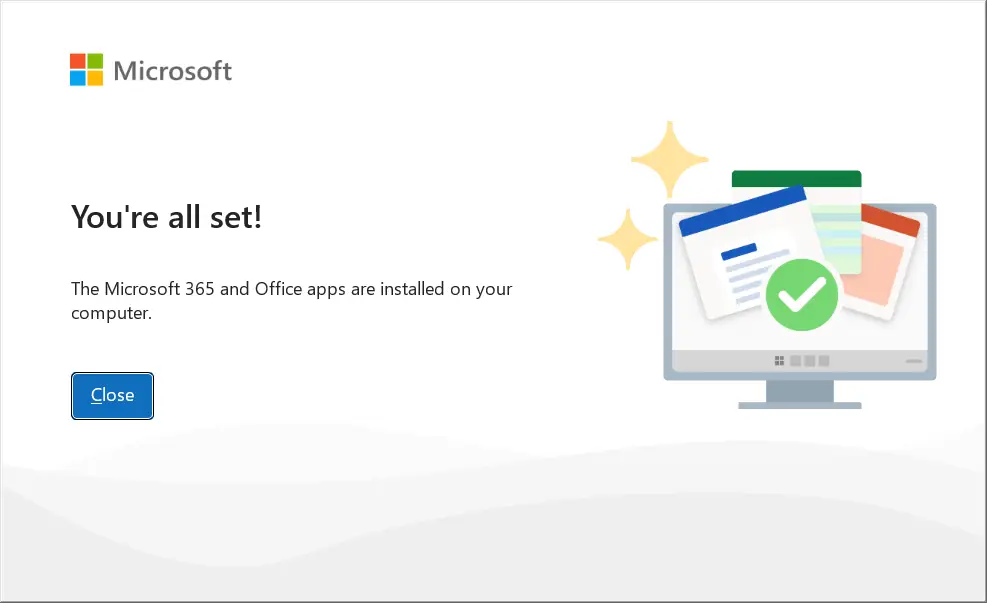
- Click Close when the installation is complete and proceed to the next step – activating the product.
Once the installation of Office 2024 is done, you need to activate your product to finalize the process.
- Run any Office 2024 app, for example Word.
- On the home screen, go to menu Account in the lower left corner.
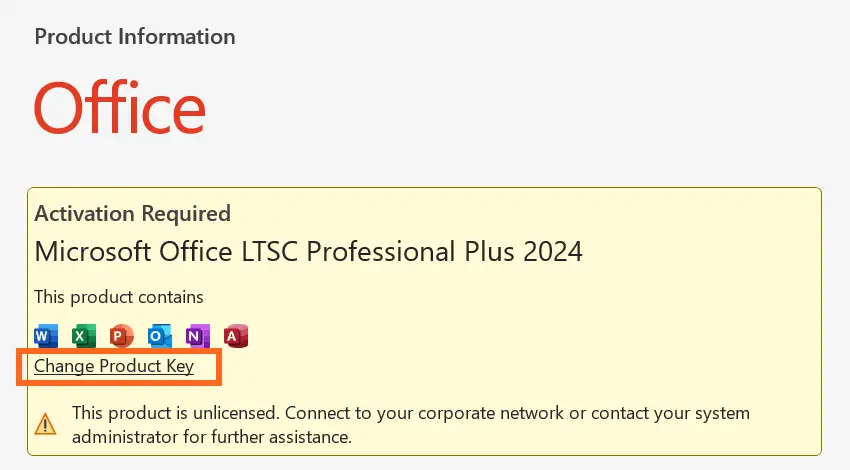
- Click Change Product Key in the yellow field (located just below the app icons).
- Enter your product key in the pop-up window and a moment later the Activate Office button will appear – click it and your product will be activated and ready to use.

