This guide is intended for volume Office products, such as Office 2016 Standard and Office 2016 Professional Plus.
Before installing your software, please make sure that:
- your computer meets the Office 2016 system requirements;
- your current operating system is up to date with the latest Windows Updates;
- the following Offices are not installed on your computer (if they are, uninstall them):
Office Home and Student, Office Home and Business, Office Professional, Microsoft 365 desktop apps, My Office.
Installation
Activation
Step-by-step guide
- Go to onesam.eu and login with your email and order number.
- Click your Office product in the menu on the left and choose the bit version:
- 32-bit – recommended for older devices and systems.
- 64-bit – recommended for optimal performance on new systems.
- Select the language version of your Office from the dropdown menu below the bit version options.
- Download the ISO file, then open it and run the setup.exe file.
- A small window might pop up, asking if you want to allow the app to make changes on your device – click “Yes”.
- Next, agree to the terms of service to continue, then click “Install Now”.
- Wait for the installation to finish.
Office is completely installed when you see this window:
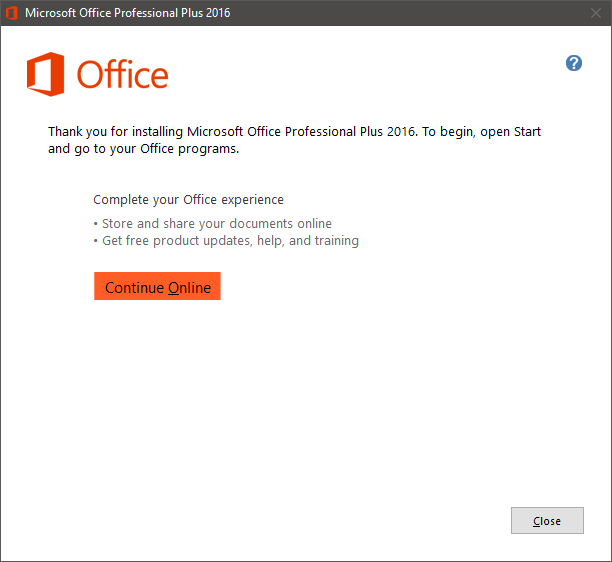
Click “Close” and proceed with activating your product (go to tab Activation for instructions).
Step-by-step guide
Once the installation of Office 2016 is done, you need to activate your product to finalize the process.
- Run any Office 2016 app, for example Word.
- Open a blank document.
- Go to menu File → Account and click Change Product Key in the yellow field.
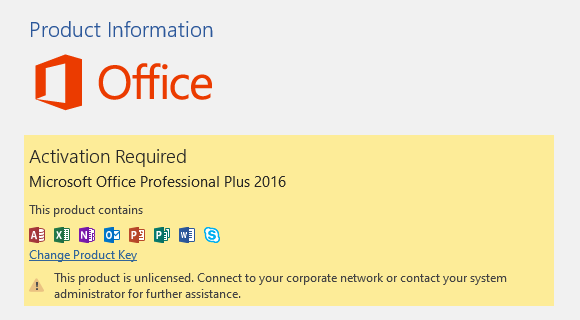
- Enter your product key in the pop-up window and a moment later the Install button will become active – click it and your product will be activated and ready to use.