Windows Server 2025 – installation and activation
Step-by-step guide for installing and activating Windows Server 2025 Datacenter or Standard edition (Desktop Experience).
Before installing, please make sure that your new computer meets the minimum system requirements:
processor: 1.4 GHz
memory: 512 MB (Server Core), 2 GB (Desktop Experience)
hard disk space: 32 GB
screen resolution: 1024×768 or higher
network adapter: Ethernet (at least 1 Gbit throughput)
Additionally, you need:
an empty USB drive of minimum 8 GB;
another computer with an internet connection and at least Windows 10 or newer installed on it.
Step-by-step guide
I. Create a bootable USB drive
Insert the USB drive that you want to use as your installation media into the computer which already has an operating system. Make sure you know which drive letter it’s been assigned (D, E, F, etc.).
Go to the Forscope Software Asset Management portal and login with your email and order number.
Download your Windows Server ISO file.
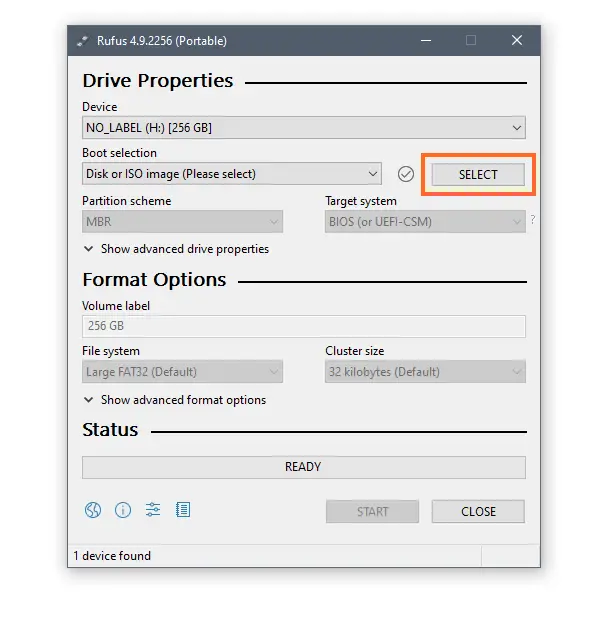
Procure an ISO mounting software of your choice in order to create the bootable USB. This guide uses the free portable Rufus tool – a very lightweight program dedicated to creating bootable USB drives that doesn’t require installation.
Download Rufus (portable version)
Run the Rufus executable file once it downloads.
Browse to the previously downloaded Windows Server 2025 ISO via the Select button.
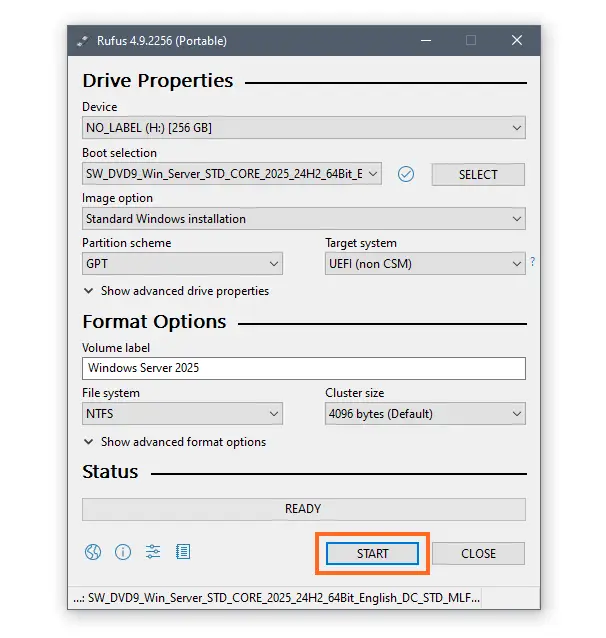
Once you've selected the ISO, click Start.
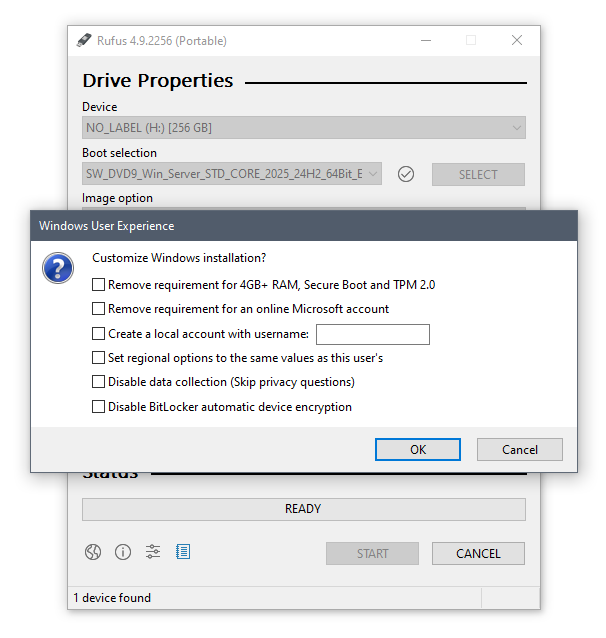
Customize the installation or skip (uncheck boxes), then click OK.
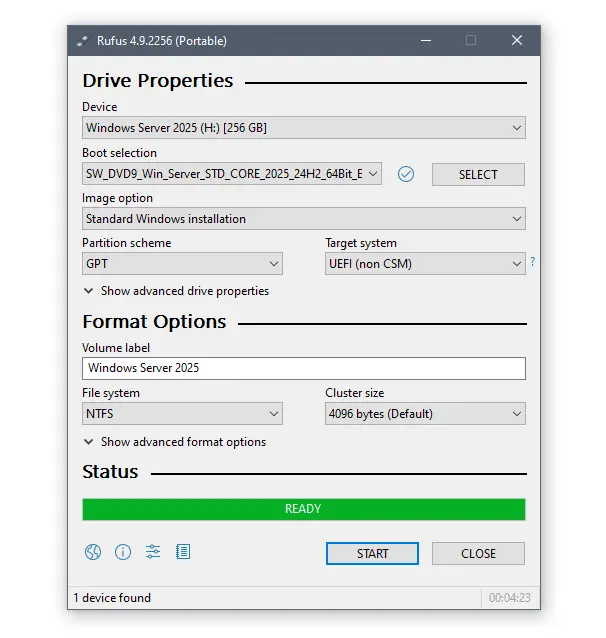
There will be a warning that the data on the USB drive will be deleted. Click OK to continue.

Your bootable USB drive is ready when the bar in section Status fills entirely with green and reads "READY".
Close the Rufus tool and unplug the USB.
II. Install Windows Server 2025
Plug the bootable USB in the device on which you want to install the server software.
Turn the device on – during start-up it should automatically recognize the bootable USB as an installation media for Windows Server 2025.
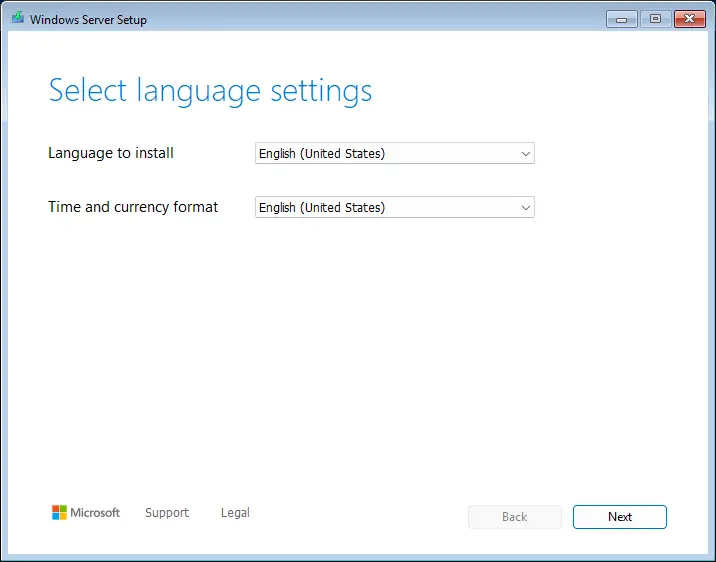
When Windows Server Setup starts, first select the language and the time and currency format, then click Next.
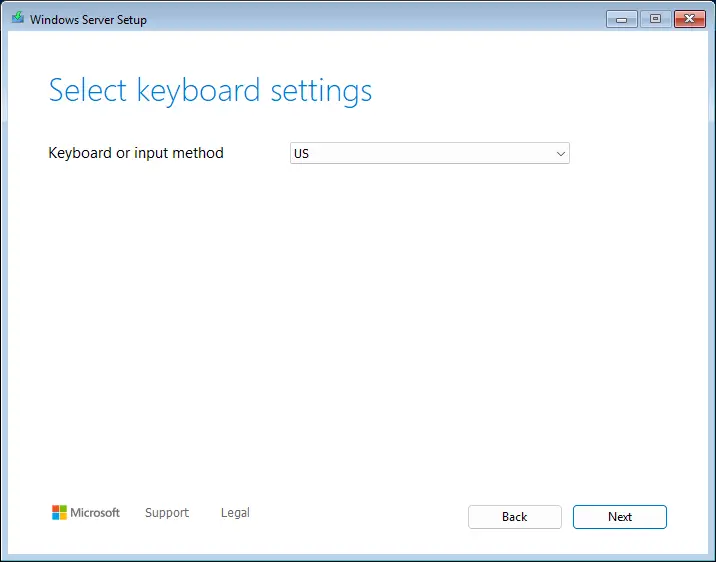
Select a keyboard layout, then click Next.
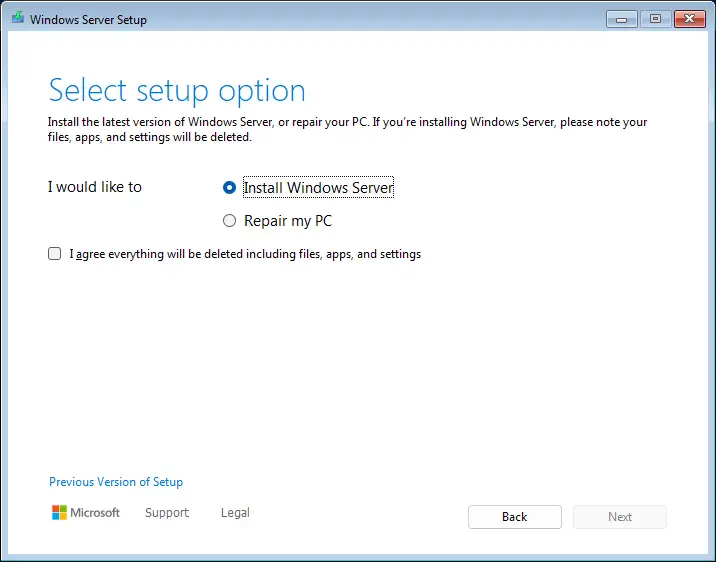
Pick option Install Windows Server. On devices without any prior operating system, checking the box about deleting files, apps, and settings is irrelevant – click Next.
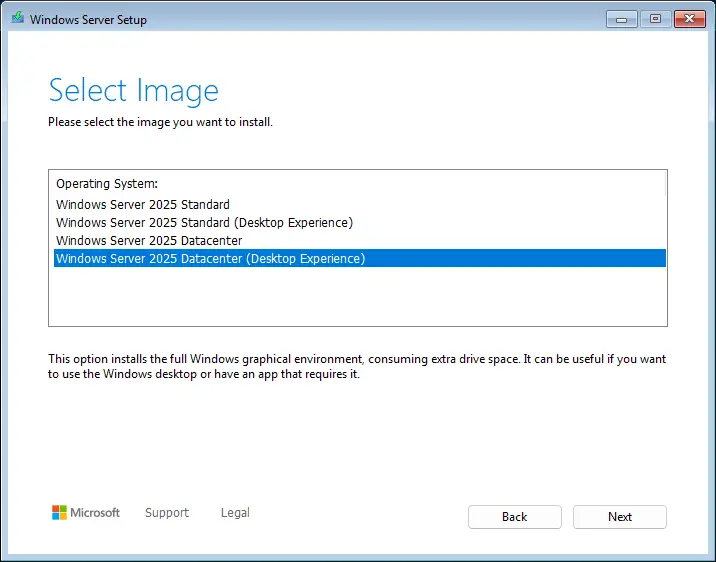
Select the edition you want to install.
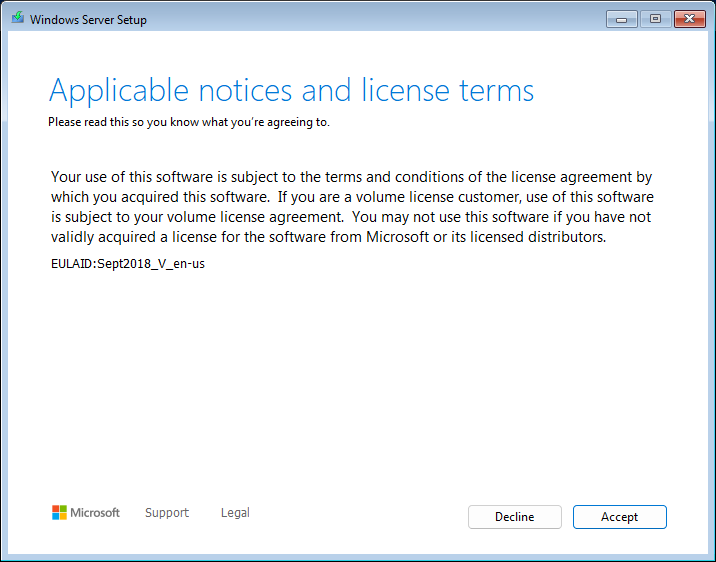
Click Accept to continue the process.
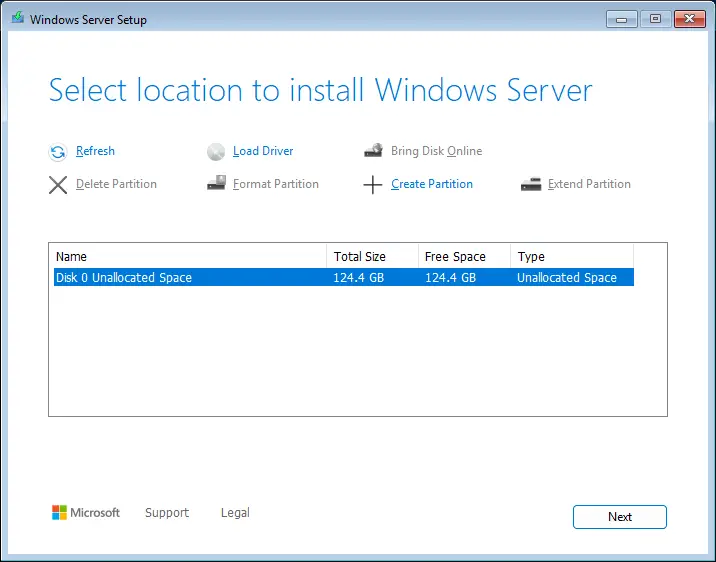
In this step, you can allocate disks for the system to use. You can separate your drive(s) in 2 or more partitions, or create a single partition. You can also let the system allocate them automatically – click Next to skip the manual process.
Click Install to start the installation.

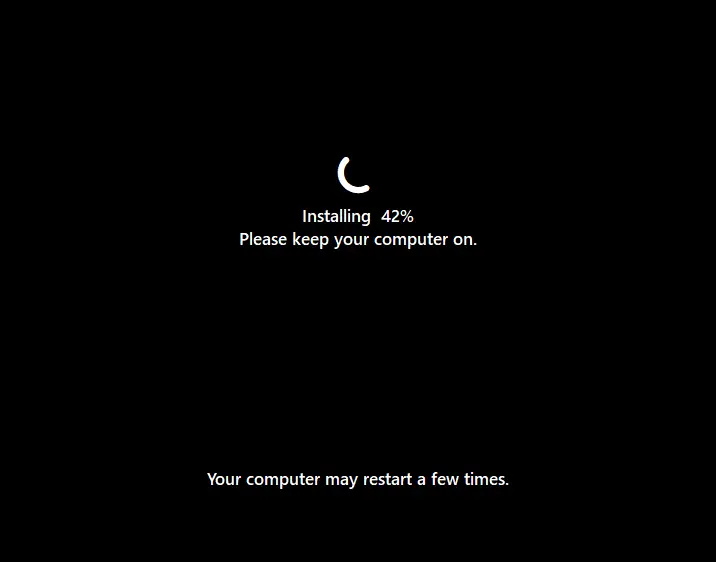
Windows Server Setup will now start installing Windows Server 2025.
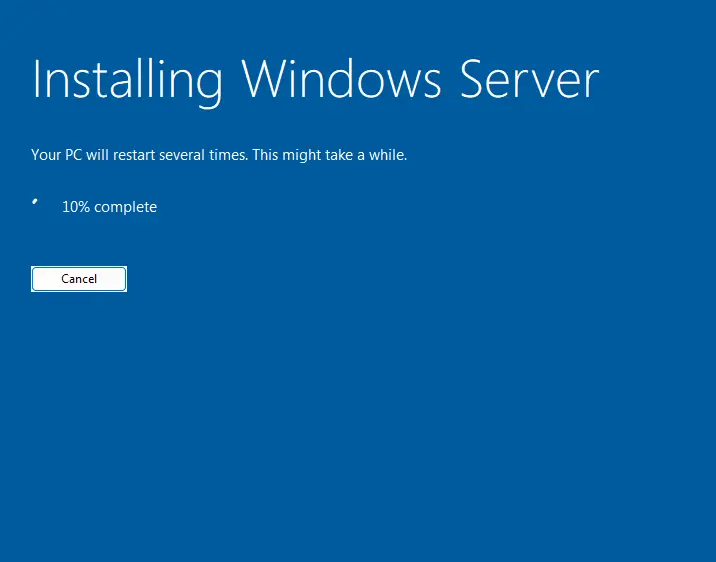
The device will restart several times during installation. Wait for the black screen to go away to continue with the Windows Server account configuration.
III. Configure the server
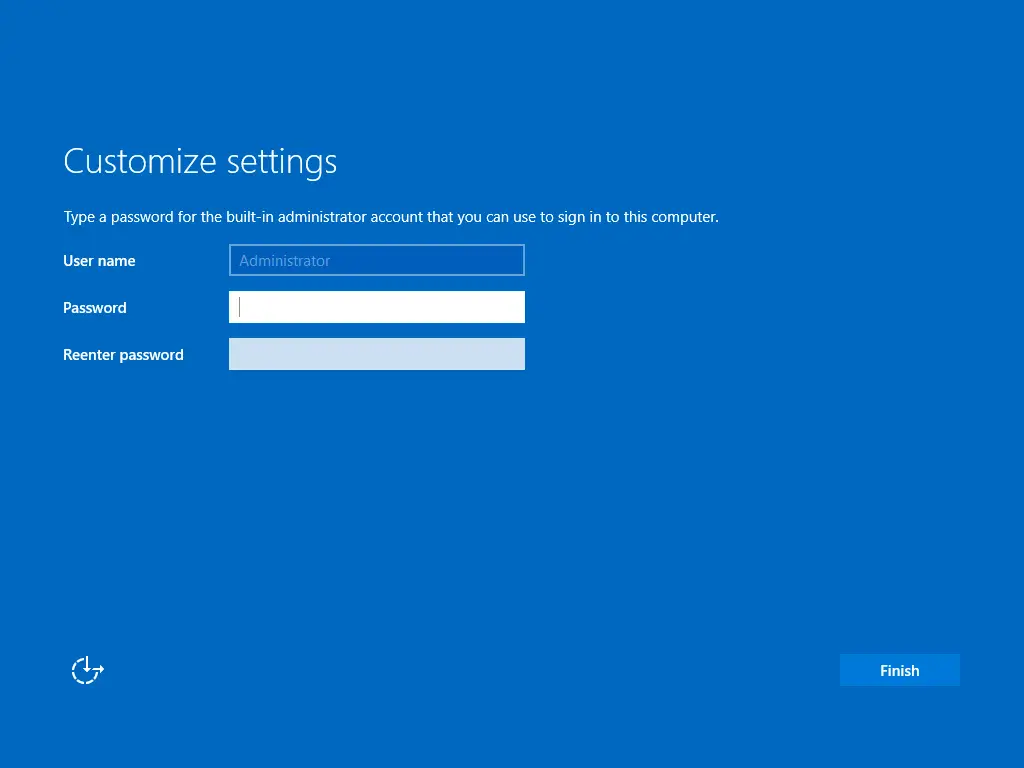
Type a strong password for the administrator account, then click Finish.
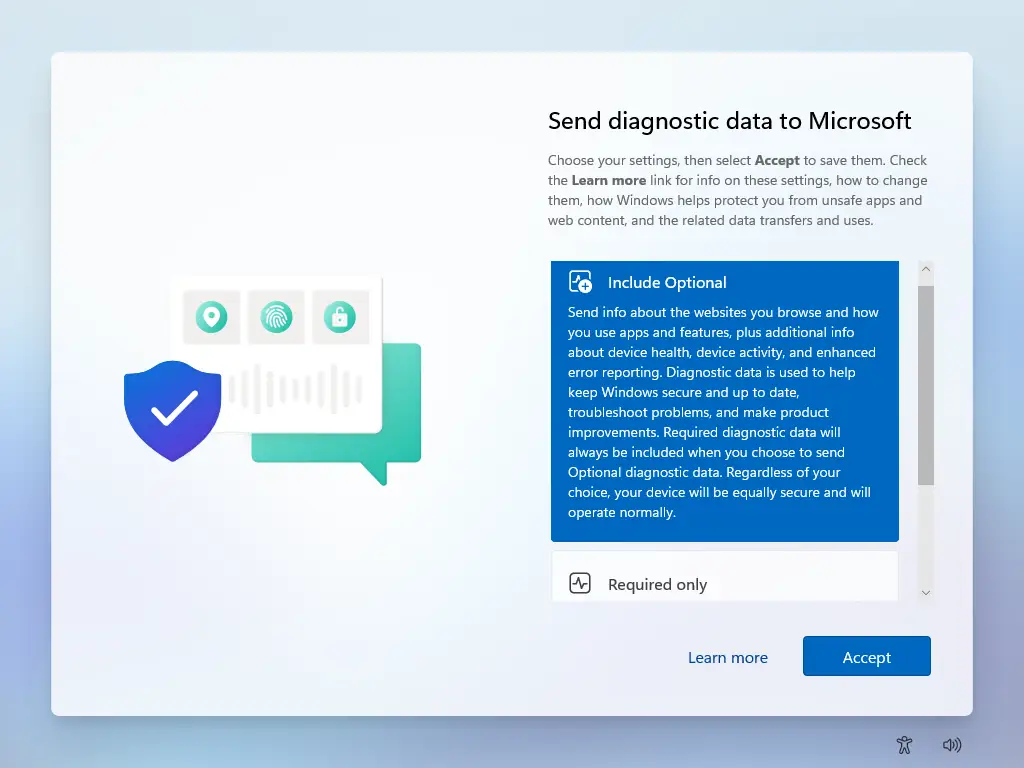
Choose whether you want to share detailed diagnostics data with Microsoft, or not, then click Accept.
IV. Activate the server
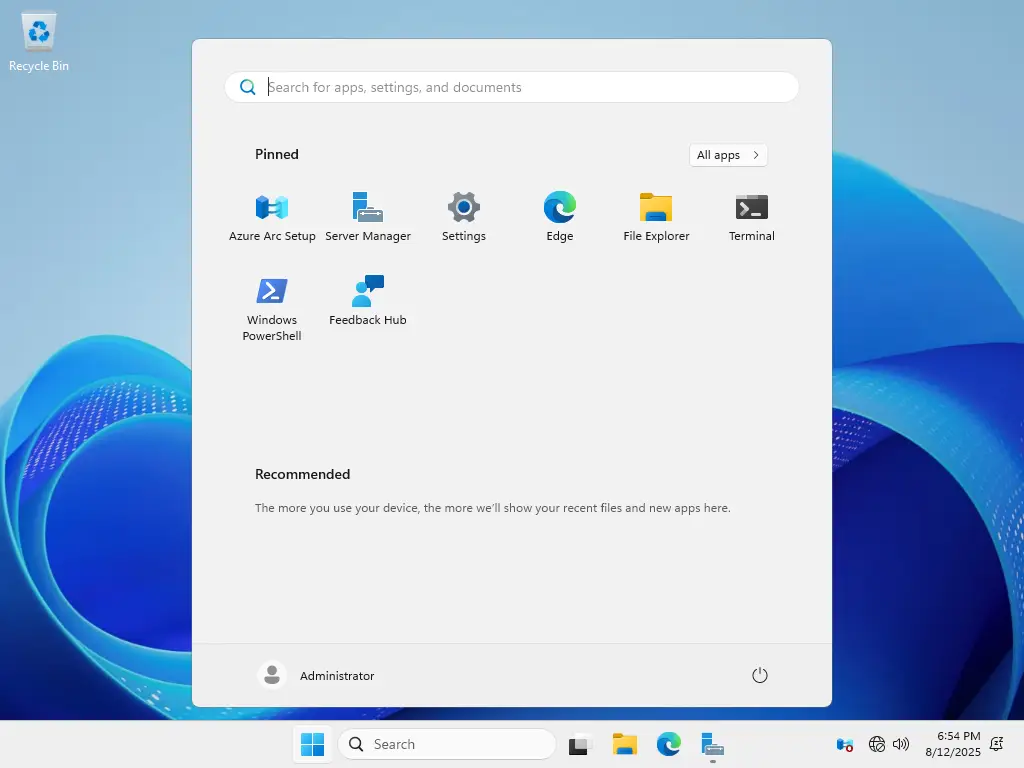
Open the Start menu and click the Settings icon.
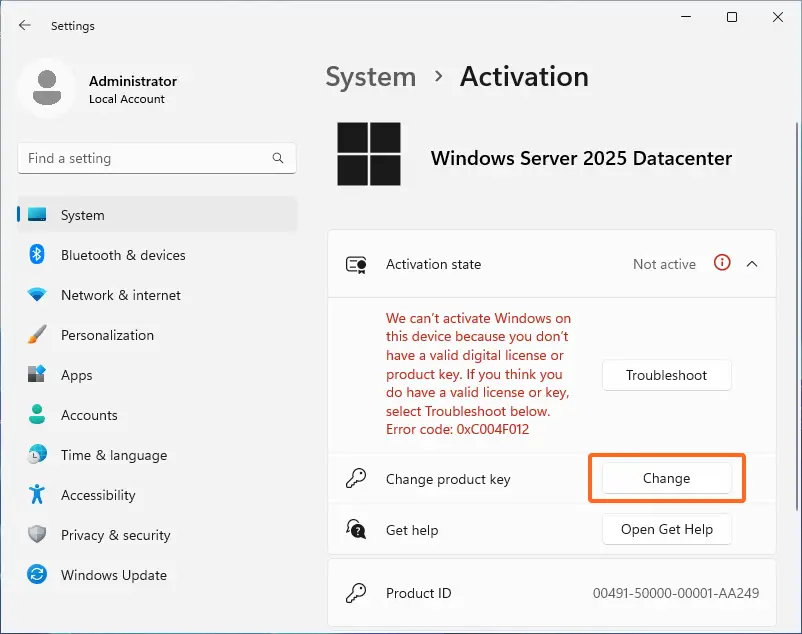
On the System screen, in section Activation state there’s a subsection called Change product key – click the Change button and a pop-up requiring you to enter a product key will appear.
Enter the product key that you received with your order and click Next – your Windows Server will be activated and ready to use.