Windows 11 – installation and activation
Step-by-step guide for installing and activating Windows 11
Before installing, please make sure that your new computer meets the minimum system requirements:
processor: 1 GHz, 64-bit, dual-core Intel, AMD, or Qualcomm
memory: 4 GB
hard disk space: 64 GB
screen resolution: 720p (HD) display, minimum 9 inches, 8 bits per color channel
graphics: DirectX 12 graphics processor with WDDM 2.0 driver
Trusted Platform Module (TPM) 2.0
Additionally, you need:
an empty USB drive of minimum 8 GB;
another computer with an internet connection and at least Windows 8 or newer installed on it.
Step-by-step guide
I. Create a Windows 11 bootable USB drive
Insert the USB drive that you want to use as your installation media into the computer which already has an operating system. Make sure you know which drive letter it’s been assigned (D, E, F, etc.).
Download Media Creation Tool (MCT):
Media Creation Tool (MCT) for Windows 11
Run MediaCreationTool.exe to start the installation wizard.
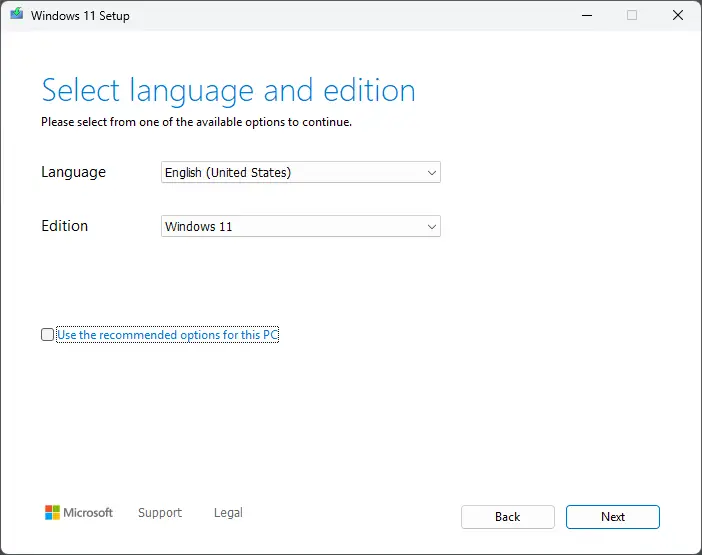
After accepting the terms and conditions, select your language and edition.
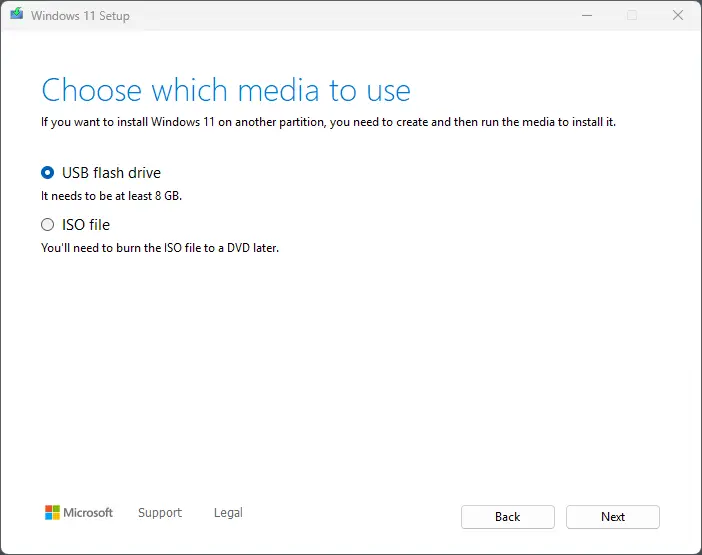
Select USB flash drive.
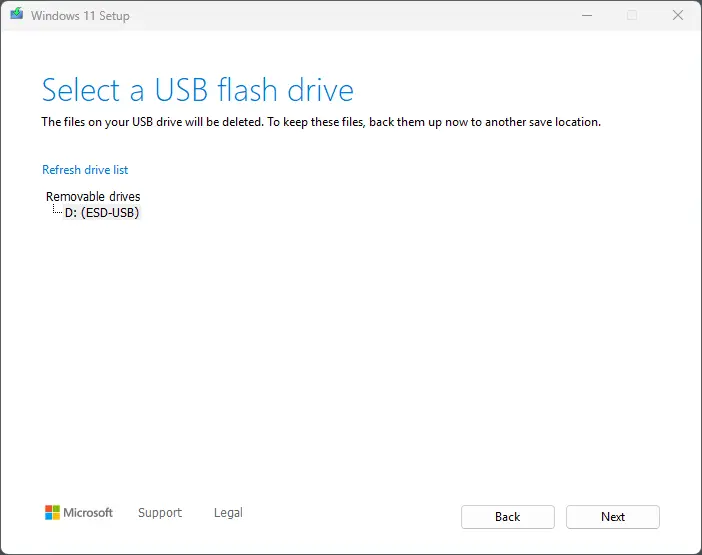
Select the USB drive you'd like to use.
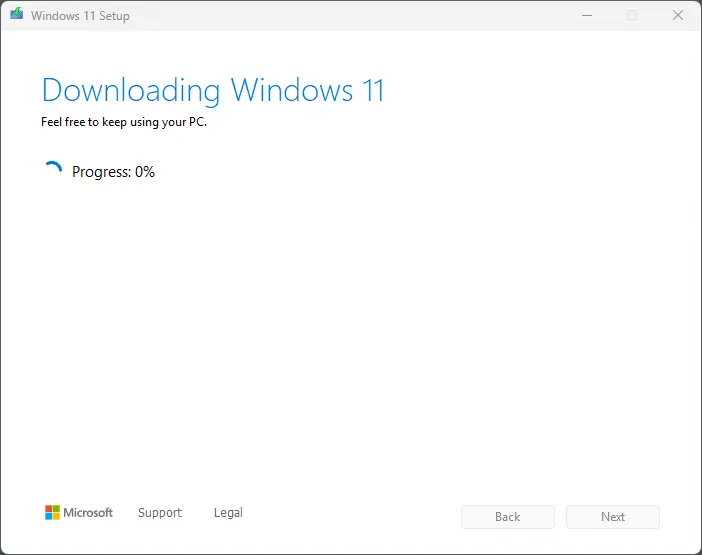
Now the Media Creation Tool will begin converting your USB into a Windows 11 installation media. Wait for the process to complete and then click Finish.
When the process is finished, close Media Creation Tool and unplug the USB.
II. Install Windows 11
Plug the Windows 11 bootable USB in the device on which you want to install Windows 11.
Turn the computer on – during start-up it should automatically recognize the bootable USB as an installation media for Windows 11.
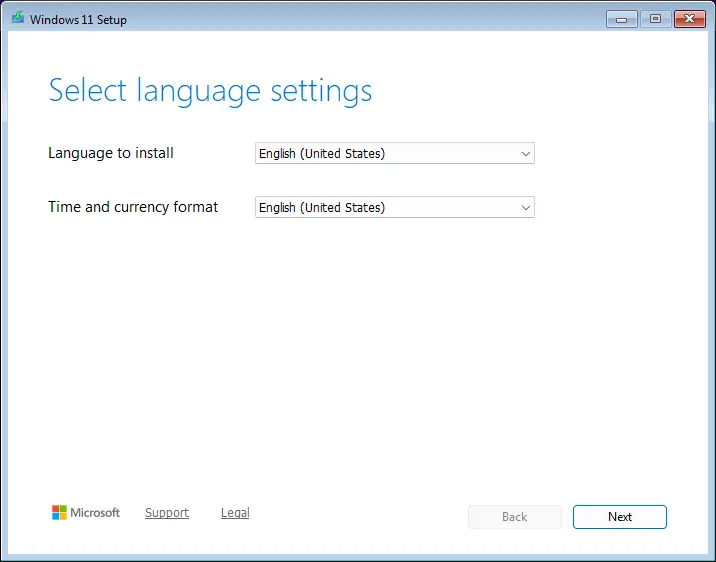
When Windows Setup starts, first select the language and time and currency format, then click Next.
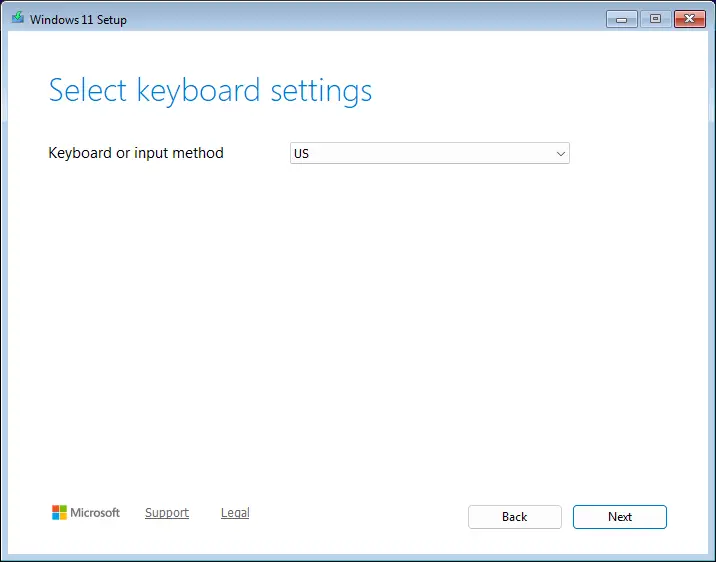
Select a keyboard layout, then click Next.
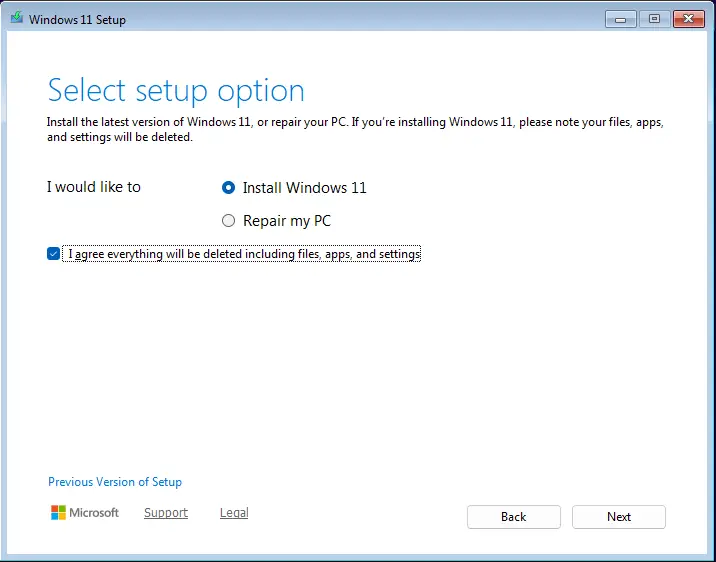
Pick option Install Windows 11. On devices without any prior operating system, checking the box about deleting files, apps, and settings is irrelevant – click Next.
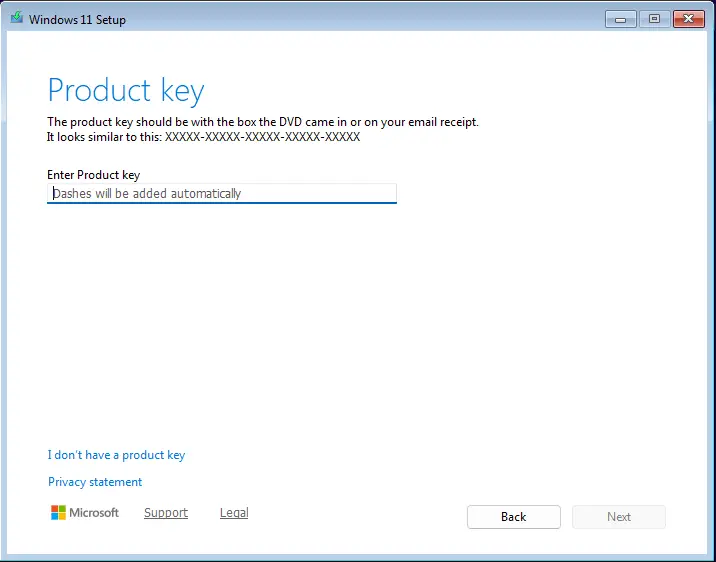
In this step, Windows Setup will ask you to enter your product key. There are 2 options:
enter the product key – the setup will automatically select a Windows edition based on the key you entered and will activate it;
skip this step – you can click “I don’t have a product key” and activate your Windows after installation.
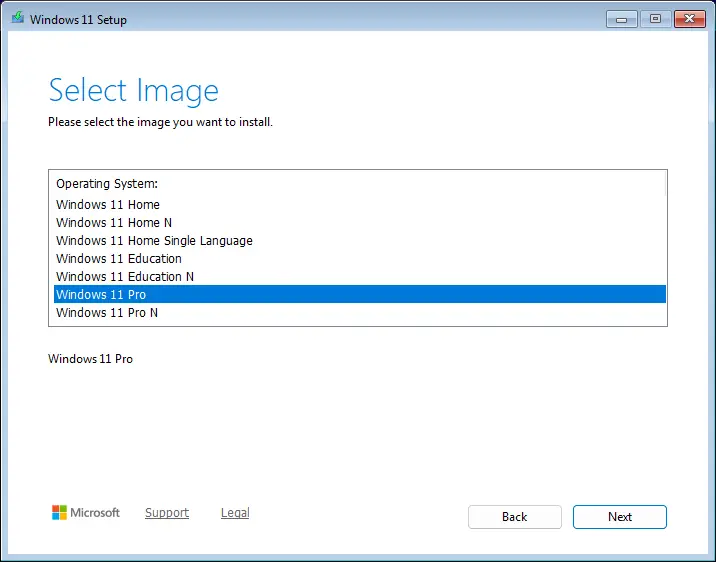
If you didn’t enter a product key in the previous step, Windows Setup will now ask you to select your edition.
IMPORTANT: you must select the exact name of the edition for which you have a product key, otherwise you won’t be able to activate it later.
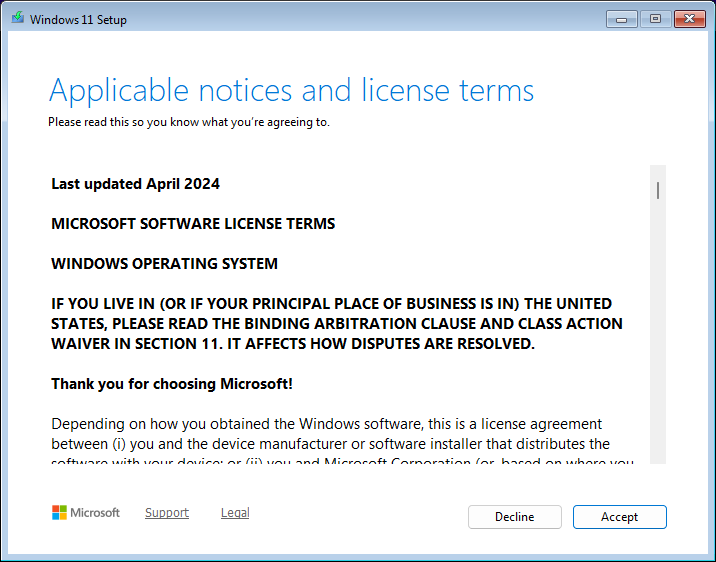
Click Accept to continue the process.
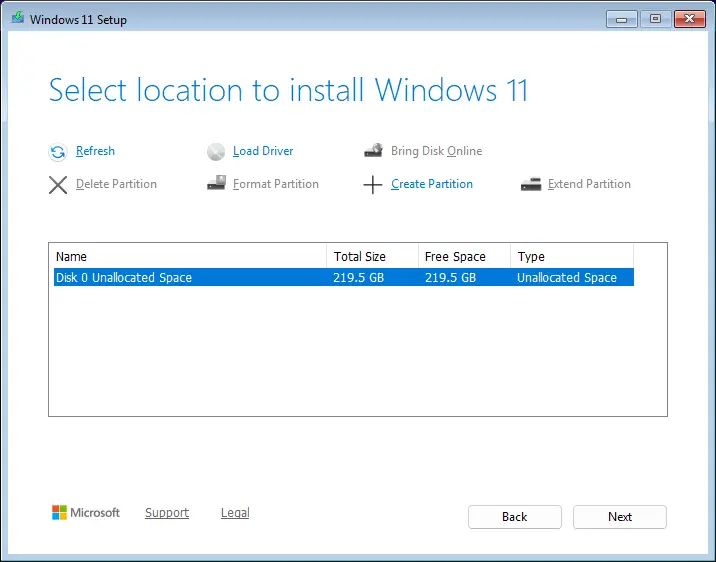
In this step, you can allocate disks for the system to use. You can separate your drive(s) in 2 or more partitions, or create a single partition. You can also let the system allocate them automatically – click Next to skip the manual process.
Click Install to start the installation.
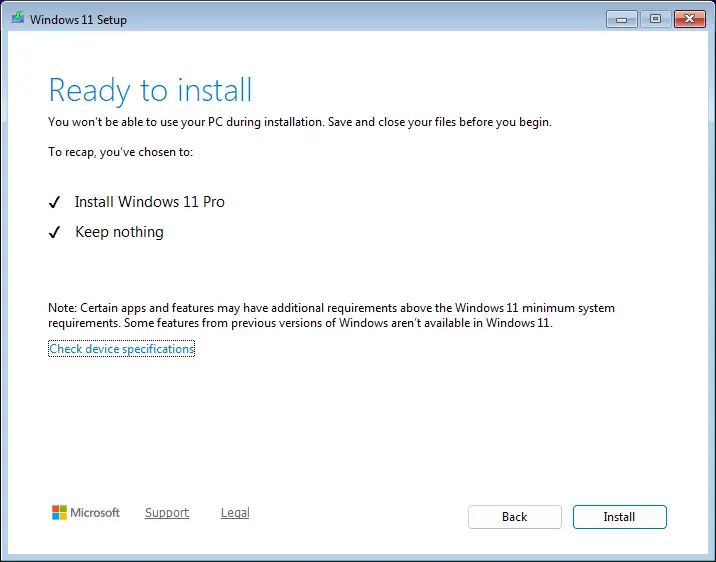
Windows Setup will now start installing Windows 11.
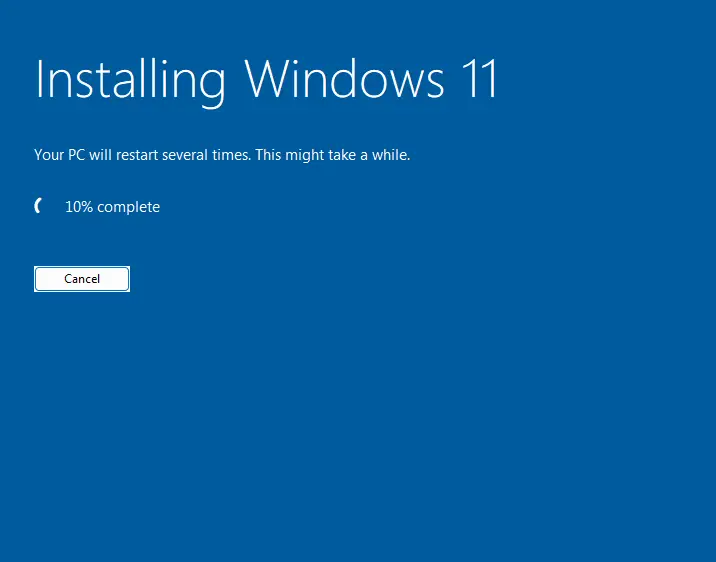
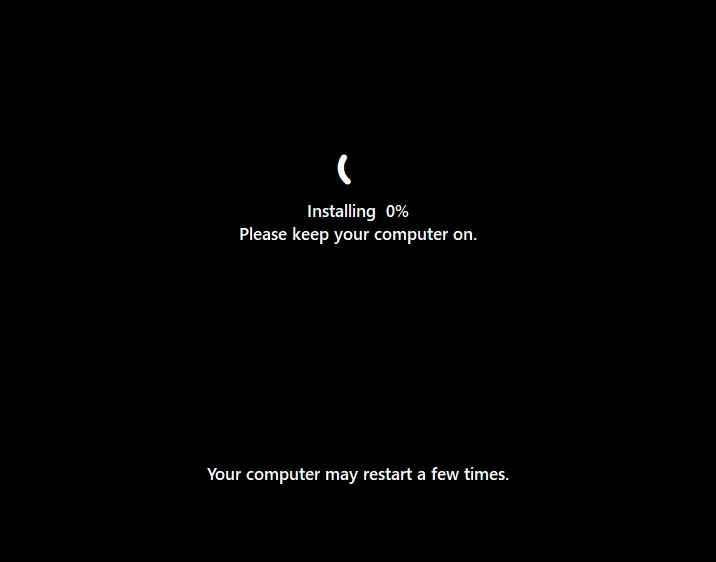
While installing, Windows 11 will restart several times. Wait for the black screen to go away to continue with the Windows 11 account configuration.
III. Configure Windows 11
When the Windows 11 installation finishes, before being able to do anything else, you will be asked to configure your Windows account and a couple of other settings. Follow the instructions below to set up Windows 11 quickly and without unnecessary clutter:
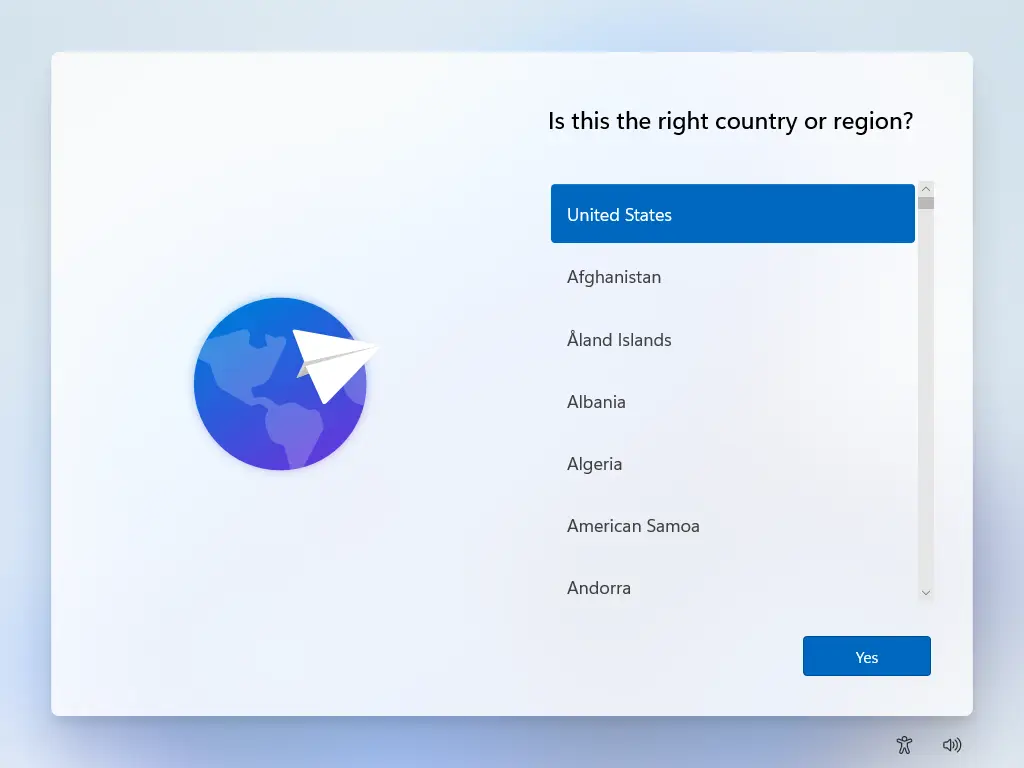
First, select your region.
Choose which keyboard layout you want to use.
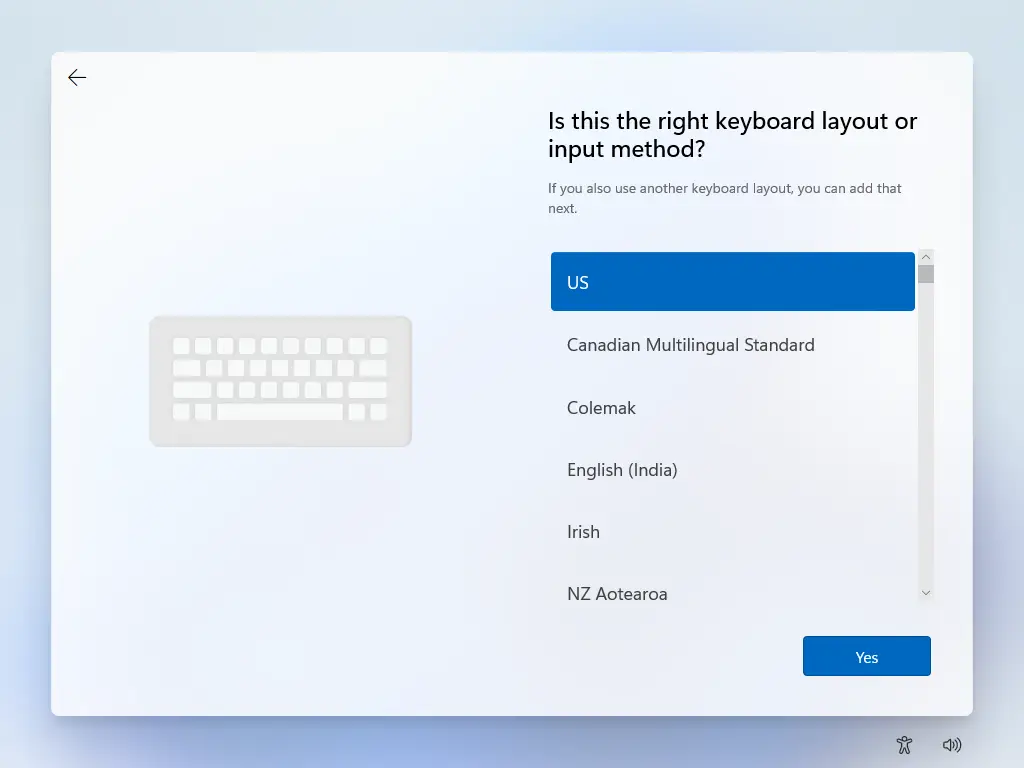
Next, you can add an additional keyboard layout, or just skip this step.
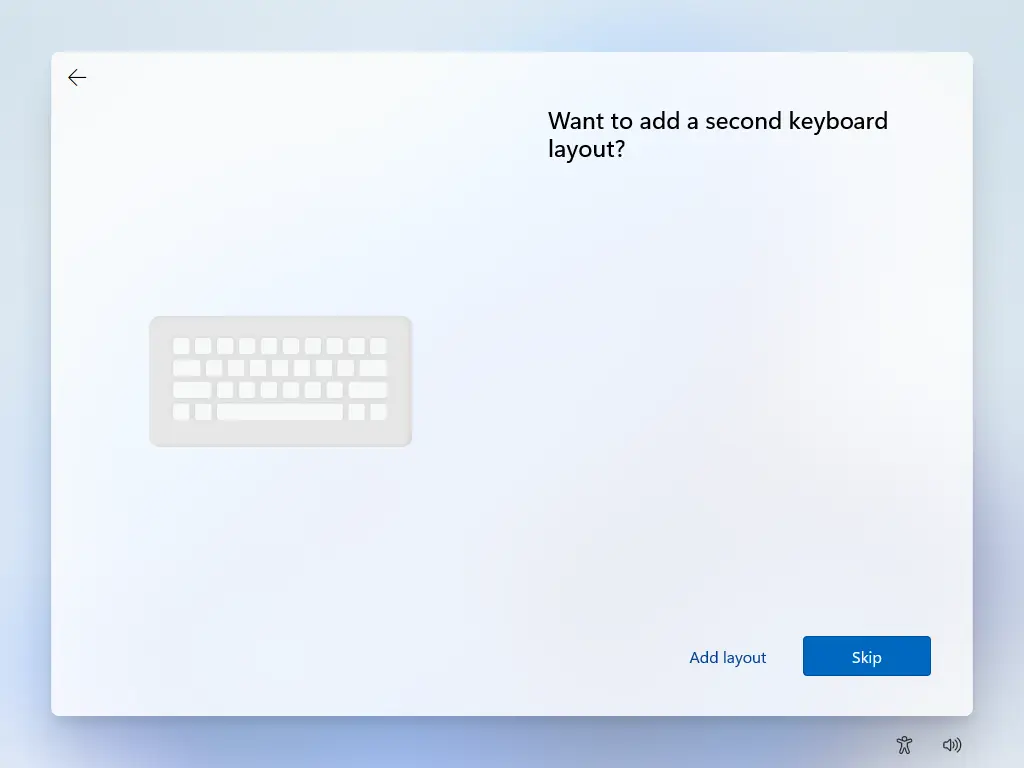
Type a name for your device, or skip this step.
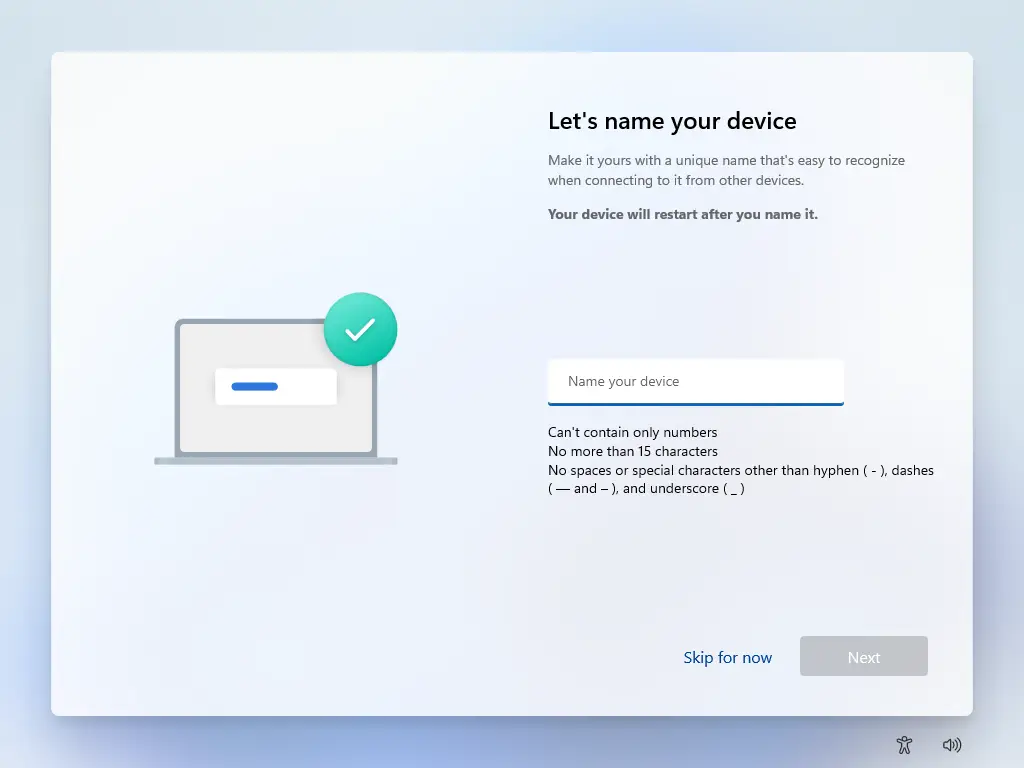
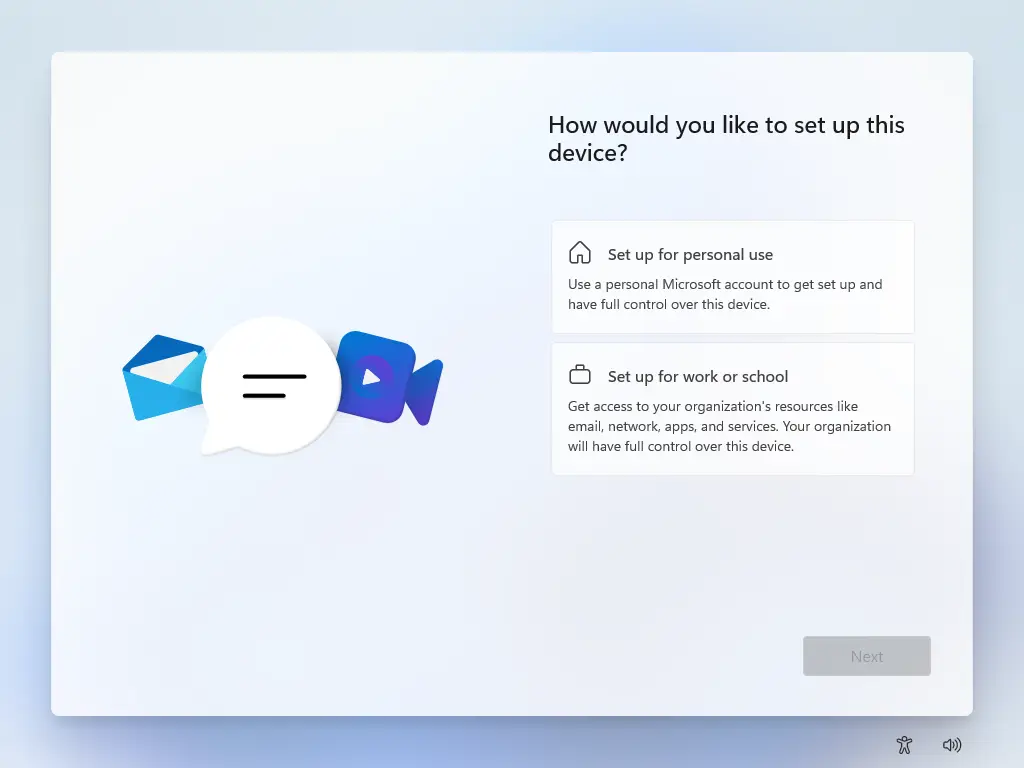
Select what kind of account you would like to set up – business, or home. Choosing the business option requires providing additional information.
Windows will check for updates and will begin installing them. This might take a while.
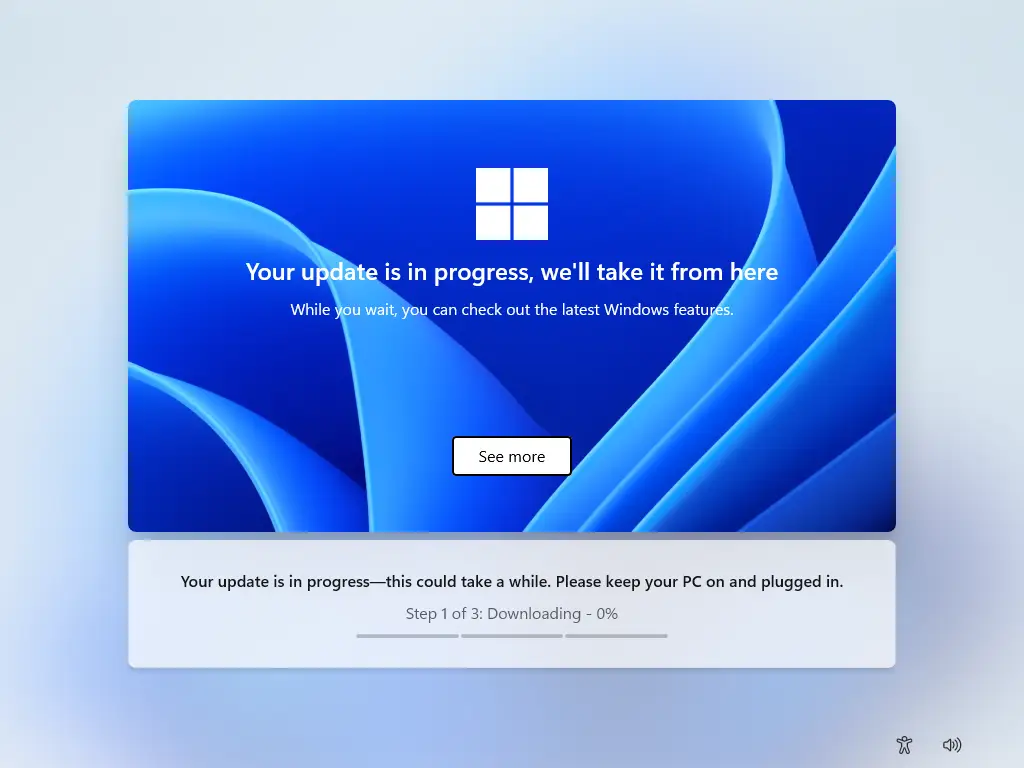
Make sure the device won't turn off during this process.

Windows 11 is now installed. Logging into a Microsoft account is required to be able to use the system.
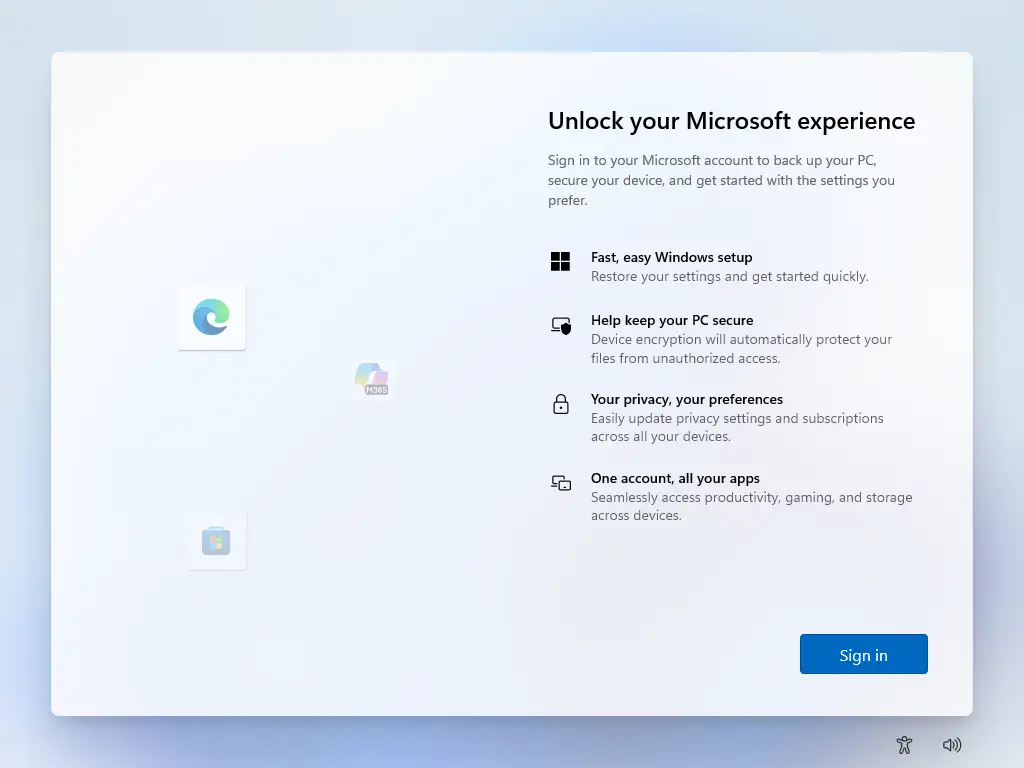
Note that you can adjust and re-configure some of these settings later on in the Settings menu accessible from the Windows 11 toolbar.
IV. Activate Windows 11
Open the Start menu and click the Settings icon.
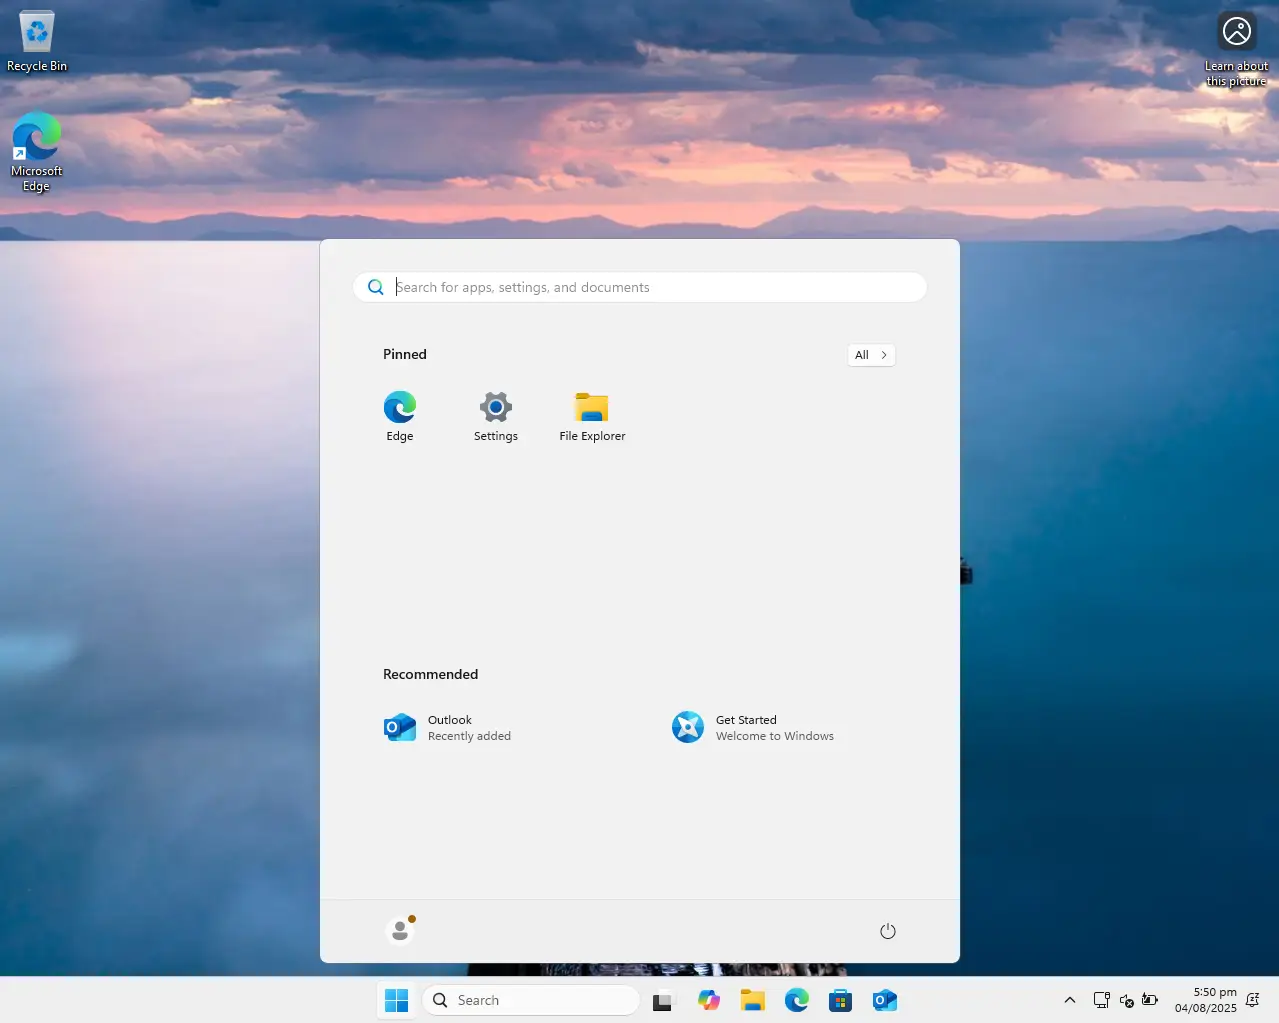
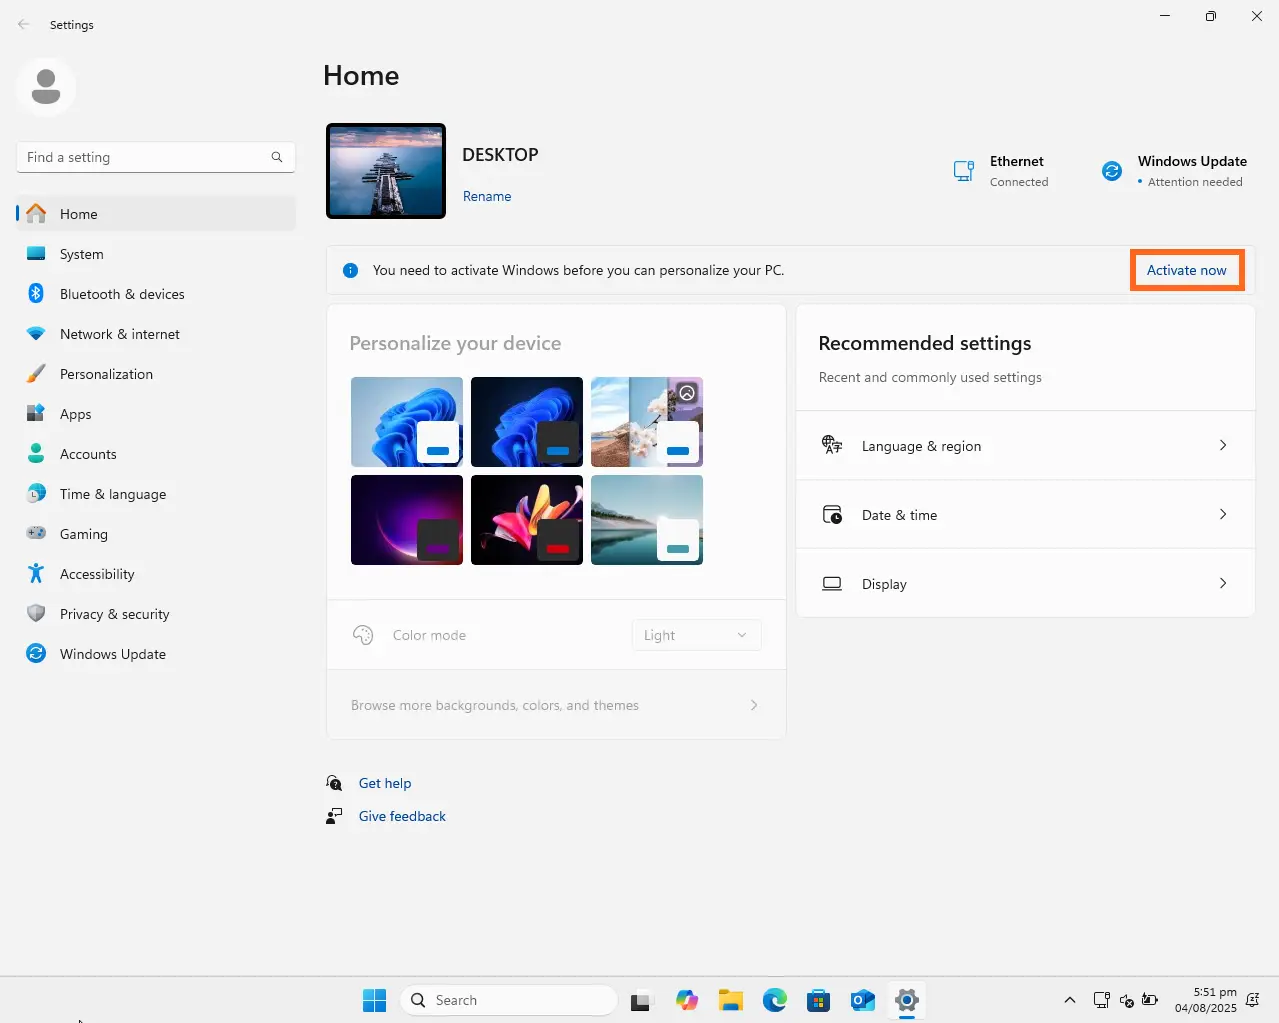
On the Home screen there will be a message informing you to activate Windows – click the Activate now text.
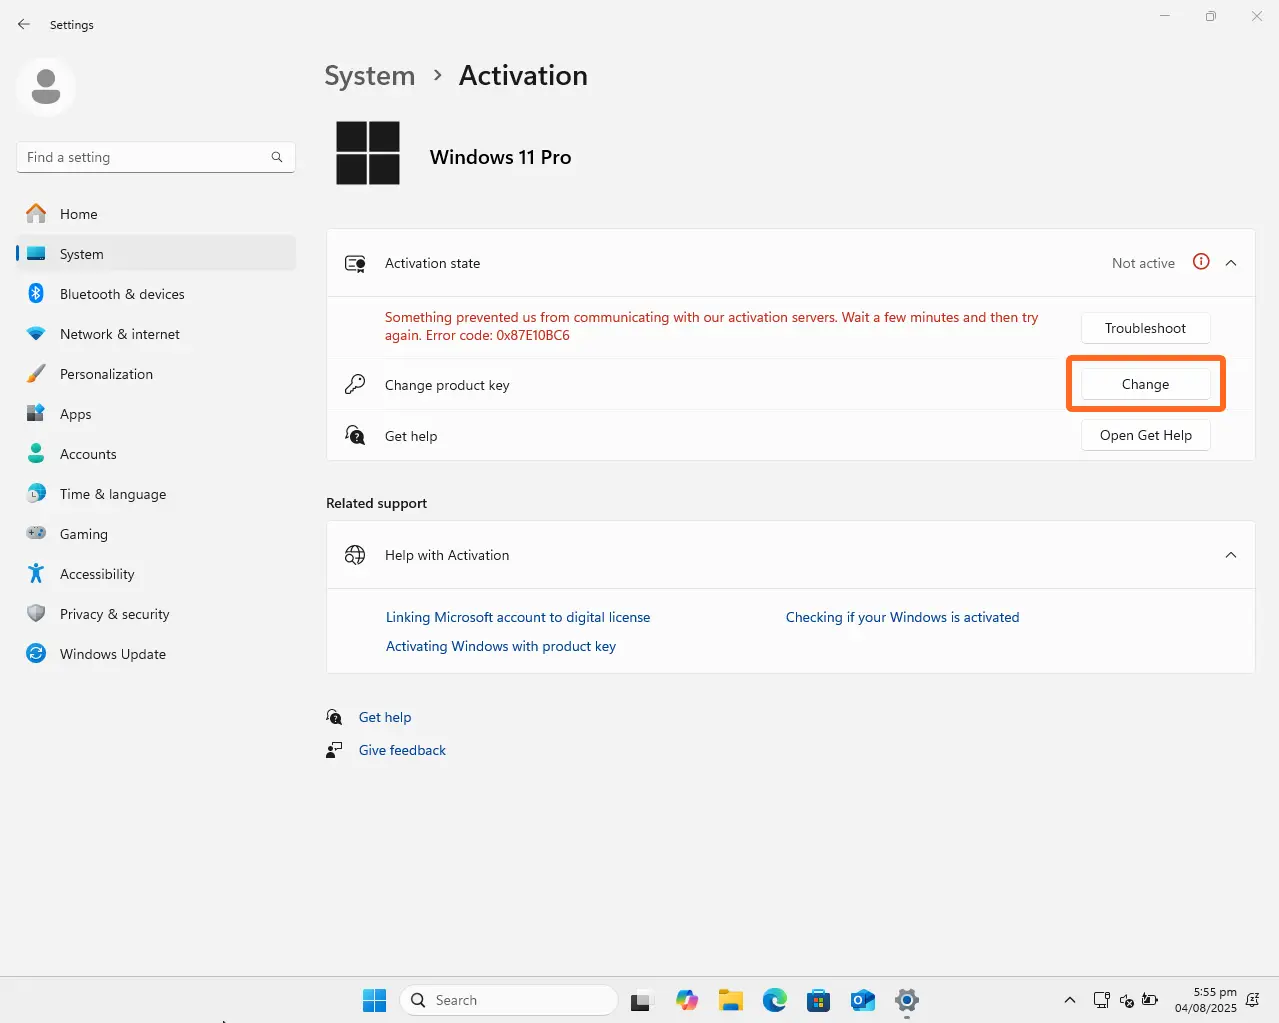
On the System screen, in section Activation state there’s a subsection called Change product key – click the Change button and a pop-up requiring you to enter a product key will appear.
Enter the product key that you received with your order and click Next – your Windows will be activated and ready to use.